Basic Chocolate Cake Mixing Methods You Need to Know
Ever baked a chocolate cake that turned out dense or dry? I’ve been there. There is a secret to a perfect chocolate cake. It lies in the different chocolate cake mixing methods. Many bakers struggle with achieving the right texture and flavor in their chocolate cakes.
This can lead to frustration and wasted ingredients. But don’t worry! By understanding the differences between creaming and all-in-one methods, you can elevate your chocolate cake baking game. Let’s explore these cake mixing techniques to ensure your next chocolate cake is a crowd-pleaser.
Key Takeaways
- All-in-one method is beginner-friendly and quick
- Creaming method is ideal for butter cakes and pound cakes
- Room temperature ingredients are key for best results
- Overmixing can make cakes tough and rubbery
- Different methods affect cake texture and structure
- Proper mixing technique ensures even flavor distribution
How Mixing Methods Affect the Final Cake
Mixing techniques are key to a cake’s texture, flavor, and structure. Different baking methods greatly affect the final cake. Let’s look at how different chocolate cake mixing methods change your cake’s look and taste.
Impact on Texture
The mixing method greatly affects your cake’s texture. Creaming makes a cake sturdy yet soft, great for layers. Blended methods make cakes very moist.
For a light and airy texture, foam cakes are best. The paste method gives a tighter texture but stays moist.
Influence on Flavor Distribution
Even flavor is key, and mixing helps achieve it. Creaming spreads sugar evenly, boosting taste. The all-in-one method can cause uneven flavor if not done right.
Reverse creaming, with its special way of mixing, often gives a more even flavor.
Effect on Rise and Structure
The cake’s structure depends a lot on the mixing method. Overmixing makes the cake tough and flat. Good mixing adds air, which helps it rise.
The muffin method uses more liquid and leaveners for a higher rise. Whipped egg methods, like in sponge cakes, make the cake light and airy with less fat.
| Mixing Method | Texture | Flavor Distribution | Rise and Structure |
|---|---|---|---|
| Creaming | Soft, sturdy | Even | Good rise, stable structure |
| All-in-One | Moist | Can be uneven | Moderate rise |
| Reverse Creaming | Moist, fluffy | Uniform | Tender crumb |
| Whipped Egg | Light, airy | Delicate | High rise, less stable |
Essential Ingredients for a Perfect Chocolate Cake
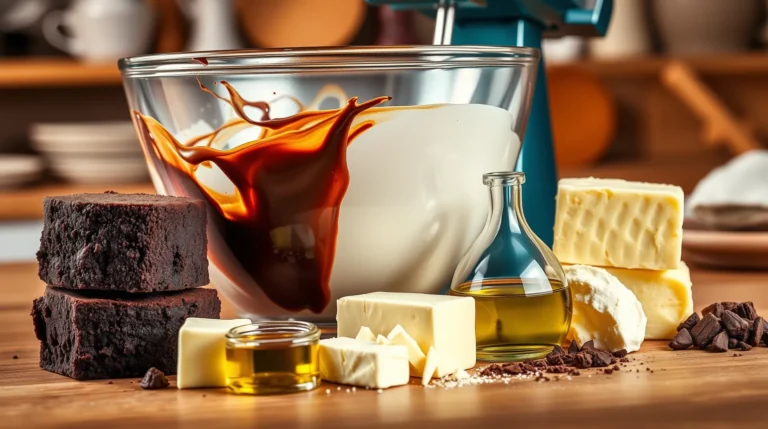
The secret to a delicious chocolate cake is in its ingredients. Using top-notch chocolate cake ingredients is key. Let’s explore the must-haves for your next baking project.
Core Baking Ingredients
The base of a fantastic chocolate cake includes these essential ingredients:
- All-purpose flour
- Cocoa powder (Dutch process recommended)
- Granulated sugar
- Eggs (room temperature)
- Butter or oil (neutral-tasting, like sunflower)
- Leavening agents (baking powder and baking soda)
Role of Ingredient Freshness and Quality
Using fresh, high-quality ingredients is vital for success. Room temperature eggs and butter mix better, making the batter smooth. Dutch process cocoa powder boosts the chocolate taste. Full-fat sour cream adds moisture and richness.
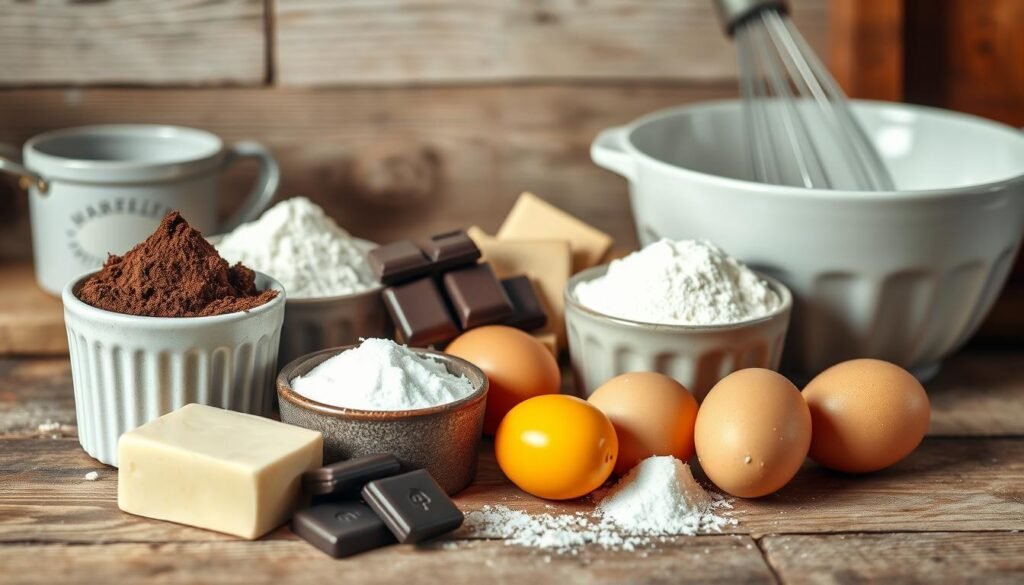
| Ingredient | Function | Impact on Cake |
|---|---|---|
| Flour | Structure | Provides framework |
| Cocoa powder | Flavor and structure | Intensifies chocolate taste |
| Sugar | Sweetness and moisture | Keeps cake moist, prevents gluten development |
| Eggs | Binding and leavening | Adds structure and helps cake rise |
| Oil | Moisture | Creates ultra-moist texture |
By using these quality ingredients and sticking to the recipe, you’ll make a chocolate cake. It will stay moist for days and get even better with time. Happy baking!
Traditional Creaming Method
I love using the creaming method for my chocolate cakes. It’s a classic for a reason. It makes the cake light and fluffy.
Step-by-step process
To start, I cream butter until smooth for about 4 minutes. Then, I add sugar and beat until it’s light and fluffy. This makes the cake soft.
Next, I add eggs one at a time, mixing well after each. Then, I alternate adding dry ingredients with liquids.
Troubleshooting common issues
If your batter curdles, don’t panic! Use room temperature ingredients to prevent this. If it happens, add a bit of flour.
Overbeating can cause cakes to collapse, so set a timer. For perfect results, ensure your oven is calibrated correctly.
Best tools for creaming method
A stand mixer is ideal for the creaming method, but a hand mixer works too. Here’s a comparison:
| Tool | Pros | Cons |
|---|---|---|
| Stand Mixer | Hands-free, powerful | Expensive, bulky |
| Hand Mixer | Affordable, portable | Requires manual control |
| Whisk | Great arm workout | Time-consuming, tiring |
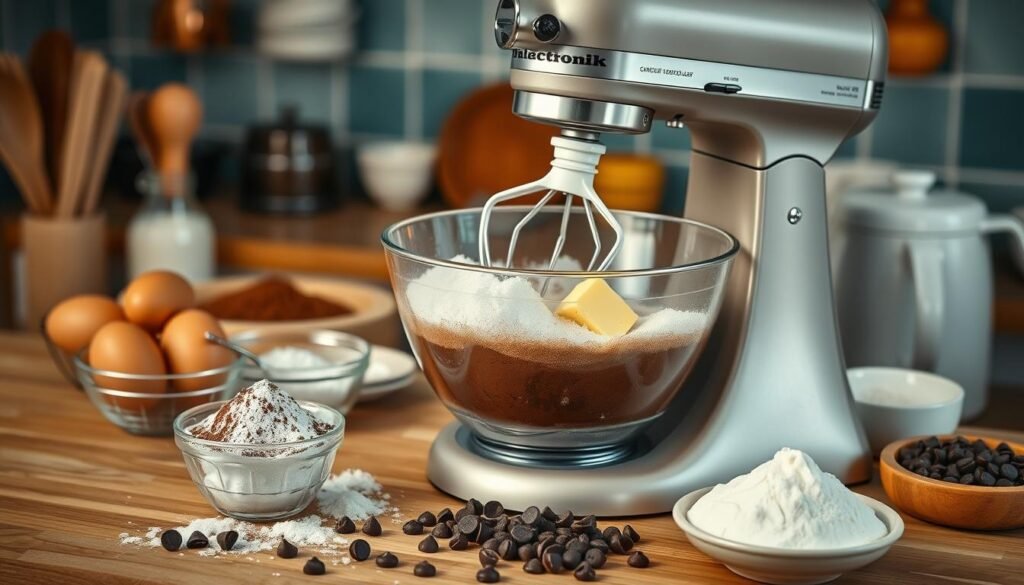
Remember, the creaming method yields a cake with a buttery taste and even crumb. It’s perfect for creating that classic chocolate cake texture we all love!
All-in-One Method Quick and Easy
The all-in-one method is a game-changer for chocolate cake lovers. It makes baking quick and easy. This method is perfect for beginners and busy bakers. It cuts prep time down to just 10 minutes!
Step-by-Step Process
Here’s how I make a delicious chocolate cake using the all-in-one method:
- Preheat oven to 350°F (175°C)
- In a large bowl, combine 2 cups flour, 2 cups sugar, 1 cup cocoa powder, baking powder, baking soda, and salt
- Add eggs, buttermilk, hot coffee, oil, and vanilla
- Mix until smooth (about 2 minutes)
- Pour into greased 9″ round pans
- Bake for 30 minutes
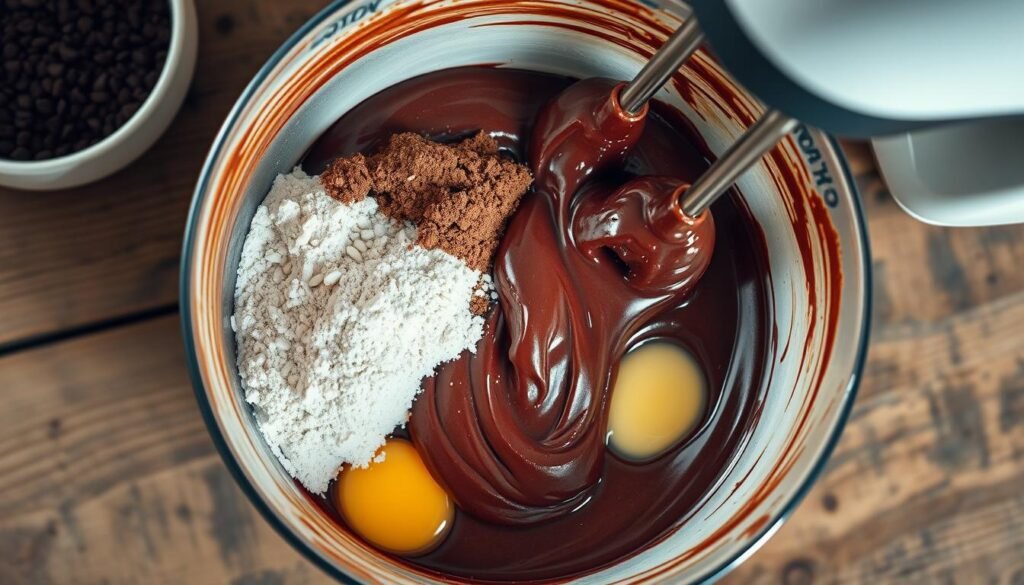
Troubleshooting Chocolate Cake Mixing Methods
Watch out for overmixing when using the all-in-one method. Stop mixing as soon as the batter is smooth. This helps avoid a tough cake. If your cake turns out dry, try adding an extra 1/4 cup of buttermilk next time.
When to Use This Method
The all-in-one method is ideal for simple cakes when time is limited. It’s perfect for last-minute desserts or when you don’t want to fuss with multiple bowls. This method works best with recipes using oil or melted butter.
| Method | Prep Time | Best For |
|---|---|---|
| All-in-One | 10 minutes | Quick, simple cakes |
| Traditional Creaming | 20 minutes | Light, fluffy cakes |
| Reverse Creaming | 15 minutes | Tender, fine-crumbed cakes |
Reverse Creaming Method A Professional Technique
I love exploring professional baking techniques. The reverse creaming method is a game-changer. It has been popular for decades. Let’s see how it works and why bakers love it.
How It Works
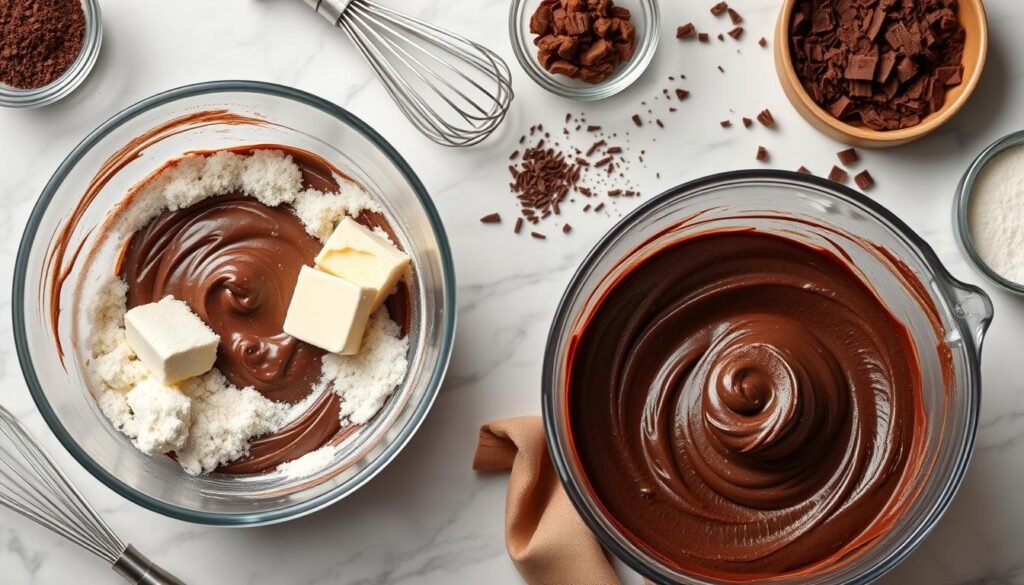
The reverse creaming method is different from the usual chocolate cake mixing methods. Instead of creaming butter and sugar first, we mix butter with dry ingredients. This coats the flour with fat, making the cake tender and moist.
Step-by-Step Guide
- Mix dry ingredients in a bowl
- Add softened butter (65-75°F) and a small amount of liquid
- Beat for 90 seconds to aerate the batter
- Gradually add remaining wet ingredients
- Mix until just combined
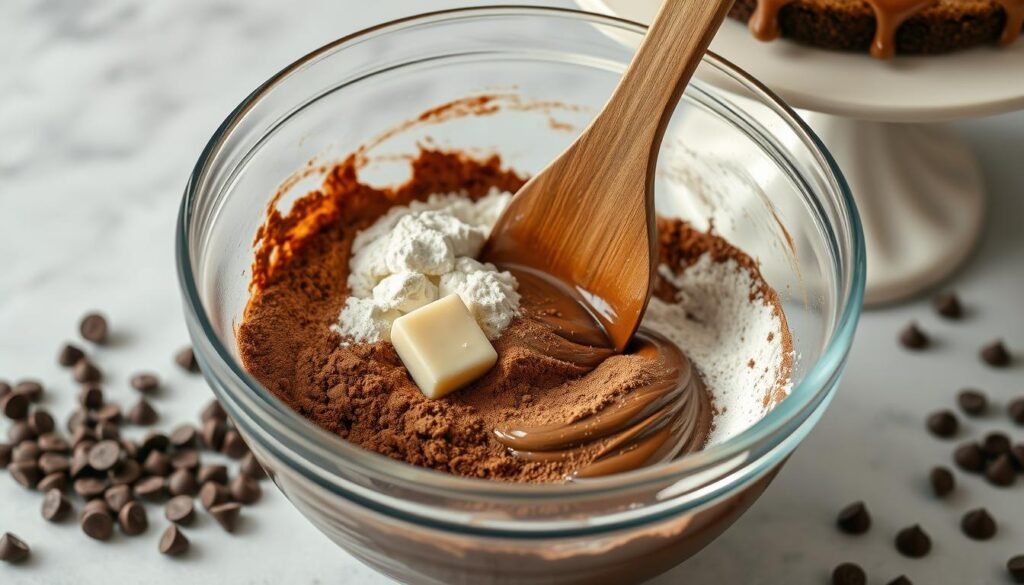
Comparison to Traditional Creaming
| Feature | Reverse Creaming | Traditional Creaming |
|---|---|---|
| Texture | Velvety, tender crumb | Lighter, fluffier crumb |
| Cake Shape | Flatter top | Domed top |
| Gluten Development | Limited | More pronounced |
| Ideal For | Layer cakes, wedding cakes | Everyday cakes |
Troubleshooting Tips and Tools
For best results, use a stand mixer or electric hand mixer. Make sure your butter is at the right temperature. Too cold, and it won’t blend right; too warm, and you’ll lose the aeration.
If your cake is dense, try mixing less or check your oven temperature. With practice, this method will become your favorite.
Choosing the Right Method for Your Cake Type
Choosing the right mixing method is key to a great cake. Each cake type needs a special technique for the right texture and taste. Let’s look at the best mixing methods for different cakes and how to swap them.
Matching Methods to Cake Types
Some mixing methods are better for certain cakes. For example, the creaming method makes yellow or vanilla sponge cakes light and fluffy. It adds air to the butter.
For denser cakes like red velvet or chocolate fudge, the reverse creaming method is best. It makes the cake tender with a soft crumb.
| Cake Type | Recommended Mixing Method | Outcome |
|---|---|---|
| Yellow/Vanilla Sponge | Creaming | Light and fluffy |
| Red Velvet/Chocolate Fudge | Reverse Creaming | Tender with velvety crumb |
| Chiffon/Angel Food | Whipping | Light and airy |
| Chocolate/Carrot | One Bowl | Simple and quick |
| Pound Cake/Fruitcake | Two Bowl | Dense and rich |
Substitutions and Variations
When swapping ingredients in cake recipes, think about the impact. For instance, most bakers prefer stick margarine over tub margarine. If using margarine instead of butter, keep it at 65°F (18°C) for creaming.
Remember, mixing can raise ingredient temperatures by up to 4 degrees. This can change the cake’s structure.
Knowing these mixing methods and their effects can help you make perfect cakes. Try different techniques to find the best for your favorite recipes!
The Role of Temperature in Mixing
Temperature is key in cake mixing. Using room temperature ingredients makes a big difference. Let’s see why and how to get the right batter.
Importance of Room Temperature Ingredients
I’ve seen big differences with different temperatures:
- Cold ingredients (40°F): Slower emulsification, coarser texture
- Room temperature ingredients (70°F): Best emulsification, finest texture
- Warm ingredients (80°F): Slightly coarser than room temperature
Room temperature ingredients, like butter and eggs, blend better. Cold ingredients can cause curdling or uneven mixing.
Achieving Perfect Batter Consistency
To get the perfect batter, follow these steps:
- Set ingredients out 1-2 hours before mixing
- Aim for a moderate room temperature of 70°F
- Mix until smooth and free of lumps
- Adjust mixing time based on the method used
Baking temperature also matters. Baking at 150°C (302°F) for 25 minutes in an air fryer makes a moist cake. This temperature, with room temperature ingredients, makes a perfect chocolate cake every time.
Mixing Tools and Equipment
Choosing the right baking tools is key to making a great cake. Different mixing methods need specific tools for the best results.
Stand Mixer vs Hand Mixer vs Whisk
Stand mixers are powerful in the kitchen. They’re great for creaming butter and sugar, making them ideal for traditional and reverse creaming methods. Hand mixers are more flexible and work well for most mixing techniques. A whisk is my top choice for lighter batters or when I need to add air.
Best Tools for Different Methods
For creaming, I use my stand mixer. It creams butter and sugar perfectly, making cakes light and airy. Hand mixers or a wooden spoon work well for the all-in-one method. A whisk is essential for the foam method to get stiff egg whites.
| Mixing Method | Recommended Tool | Cake Texture |
|---|---|---|
| Creaming | Stand Mixer | Light and Airy |
| All-in-One | Hand Mixer | Moist and Dense |
| Foam | Whisk | Extremely Light |
| Reverse Creaming | Stand Mixer | Tight and Moist |
The right baking tools can make a big difference in cake-making. Whether it’s a stand mixer, hand mixer, or whisk, each tool has its own role in making delicious cakes.
Common Mixing Mistakes to Avoid
I’ve seen many bakers stumble when making cakes. Let’s explore some frequent baking mistakes and how to sidestep them for perfect results every time.
Overmixing
Overmixing is a common pitfall that can ruin your cake. When you beat the batter too much, you force out air and overwork the gluten. This leads to a dense, rubbery cake that sticks to your palate. To avoid this, mix just until the ingredients are combined.
Undermixing
On the flip side, undermixing can be just as problematic. It results in uneven texture and flavor distribution. Make sure to blend your ingredients thoroughly, but don’t go overboard. A good rule of thumb is to mix until you can’t see any more flour streaks in your batter.
Ingredient Temperature Errors
Using ingredients at the wrong temperature is a recipe for disaster. Cold butter or eggs can cause your batter to curdle or separate. Always bring your ingredients to room temperature before mixing. This ensures proper emulsification and a smooth, well-blended batter.
Remember, proper mixing is key to achieving the right cake texture. Aim for an internal temperature of 205°F when baking. Also, resist the urge to open the oven door during the first 3/4 of cooking time to prevent your cake from collapsing. By avoiding these common mixing mistakes, you’ll be well on your way to baking perfect cakes every time.
Conclusion Choosing the Best Method for Your Needs
I’ve looked at many chocolate cake mixing methods in this article. Each has its own good points. The all-in-one method is fast and great for beginners. The creaming method makes cakes sturdy for layering.
The reverse creaming method makes cakes tender and moist. They feel like they melt in your mouth.
Summary of Methods
When picking a mixing method for your chocolate cake, think about your time, tools, and what you want. If you’re in a hurry, the all-in-one method is best. For a classic feel, choose the creaming method.
For a professional touch, try reverse creaming.
Final Tips for Choosing
Baking techniques are key to a great cake. Use a kitchen scale for exact measurements. They don’t cost a lot.
Check your oven’s temperature with a thermometer for even results. Try different chocolate cake mixing methods to see what works best for your recipes. With practice, you’ll get better at these techniques and make tasty chocolate cakes every time.


4 Comments