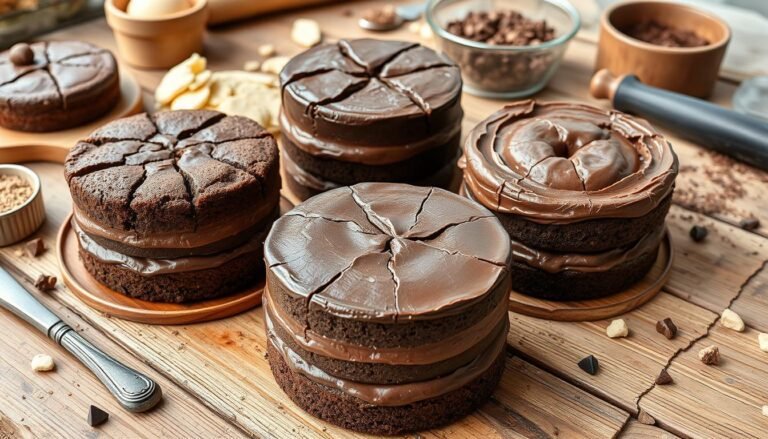


The Most Delicious Chocolate Ganache for Cake Frosting
Ever had trouble with lumpy, grainy, or separated ganache? I know the feeling. It’s really frustrating. Imagine ruining a cake just when you’re about to serve it because your chocolate ganache for cake frosting didn’t turn out right. Bake and decorate the perfect chocolate cake everytime!!
The stress of seeing your dessert dreams fall apart is real. But, I’ve found a way to make silky ganache frosting every time.
My chocolate ganache recipe is foolproof. It makes your frosting smooth and glossy. You only need two ingredients and it takes just seven minutes to make.
Whether you want a thick glaze or a pourable drip, I’ll show you how. I’ll teach you the perfect chocolate to cream ratio for any frosting style. Get ready to make your cakes look amazing with pro-level ganache frosting!
Key Takeaways
- Perfect ganache requires only chocolate and heavy cream
- The right chocolate to cream ratio is key for the right consistency
- Ganache can be made in just 7 minutes
- Proper cooling and temperature control are important for the best texture
- Ganache can be stored and reheated for later use
- Adding flavors like extracts or liqueurs can make unique variations
Why Trust My Chocolate Ganache For Cake Frosting?
I’ve been working on my ganache recipe for years. I started in 1998 and kept trying until I got it just right. Now, I’m ready to share my secrets with you!
My Chocolate-Coated Journey
I started making ganache to frost chocolate cakes. I learned that heavy whipping cream is key for smooth results. I’ve made so much ganache, I know how to get it just right.
What Makes This Method Special
For the perfect chocolate ganache for cake frosting, I focus on using the right chocolate and cream. For classic ganache, I mix 2 parts cream with 3 parts chocolate. This mix works great with different types of chocolate.

Chocolate Ganache For Cake Frosting Results You Can Count On
My method makes ganache that’s both tasty and versatile. It keeps well in the fridge for weeks or even longer in the freezer. I’ve also shared tips on how to store it. My guide will help you with everything from glazing cakes to making frostings.
| Ganache Type | Cream-to-Chocolate Ratio | Best Use |
|---|---|---|
| Bittersweet/Semisweet | 2:3 | Versatile frosting |
| Milk Chocolate | 1:3 | Sweeter option |
| White Chocolate | 1:3 | Unique flavor profile |
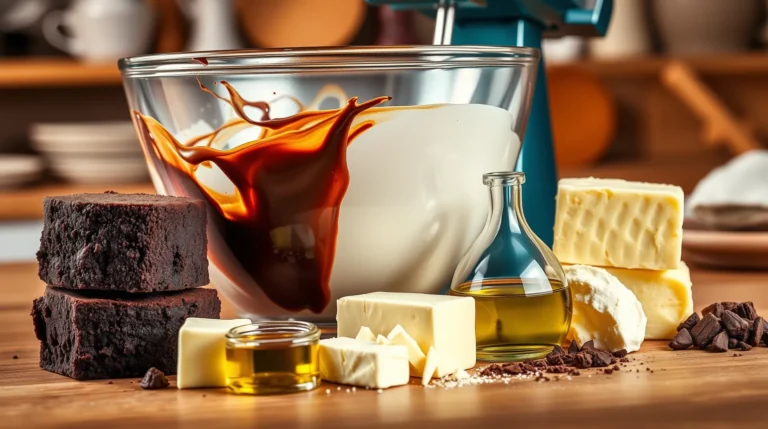
Understanding Chocolate Ganache Basics
I’ve learned that mastering chocolate ganache is all about balance and technique. Let’s dive into the sweet science behind this versatile frosting!
What Makes Perfect Ganache
Perfect ganache starts with quality ingredients. I always use heavy cream with 35% fat content and premium chocolate chips. The magic happens when you nail the ratio. For a smooth ganache finish, I stick to a 1:1 ratio of chocolate to cream. It’s my go-to for glazing and drip cakes.
The Science Behind Ganache
Ganache is an emulsion of chocolate and cream. When heated cream meets chopped chocolate, the cocoa butter melts and mixes with the cream’s fat. This creates that silky texture we all love. Ganache temperature tips are key – too hot, and it splits; too cold, and it won’t blend.

Essential Components
You only need two ingredients for basic ganache: chocolate and cream. But the type matters! I swear by Baker’s baking chocolate for its consistent quality. For whipped ganache frosting, I use a 2:1 chocolate-to-cream ratio for dark chocolate, 2.5:1 for milk chocolate, and 3:1 for white chocolate.
Common Ganache Mistakes (And Why They Happen)
Ganache troubleshooting is an art. If it’s too thick, I add warm cream. Too thin? More chocolate. Lumpy? A quick 5-10 second zap in the microwave usually does the trick. Remember, refrigerated ganache can “sweat,” so I let it come to room temperature before using. These simple fixes have saved many of my cakes from disaster!
| Ganache Type | Chocolate:Cream Ratio | Use |
|---|---|---|
| Thin | 1:2 | Glazing, Dipping |
| Medium | 1:1 | Drip Cakes, Fillings |
| Thick | 2:1 | Truffles, Tart Fillings |
Choosing the Right Chocolate for Ganache
I’ve learned that picking the right chocolate is key for great ganache. The right choice affects flavor and how fast it sets.
Semi-Sweet vs Bittersweet Chocolate
I choose semi-sweet chocolate with 35-45% cacao for its balance. Bittersweet chocolate, around 60% cacao, makes a darker ganache. My favorite is chocolate with 54-55% cocoa solids.
Quality Matters: Premium Chocolate Brands
Premium brands like Ghirardelli or Guittard give the best results. They make a smooth, rich ganache. I avoid regular chocolate chips because they have stabilizers.
Budget-Friendly vs. Premium Options
Even budget-friendly chocolate works if it’s over 50% cocoa. It’s all about the cocoa content, not the price.
Chocolate Percentage Guide
Here’s a quick guide for different uses:
| Use | Chocolate % | Cream to Chocolate Ratio |
|---|---|---|
| Drip Cake | 55-60% | 1:1 |
| Tart Filling | 60-70% | 1:2 |
| Cake Frosting | 55-70% | 1:3 |
Remember, how fast ganache sets depends on chocolate and ratio. Higher cocoa content sets faster. For frosting, aim for a 1:3 cream to chocolate ratio.
Quick Reference: Ganache Calculator
I’ve found the secret to perfect chocolate ganache for cake frosting ratios. I’m excited to share my favorite calculator with you. It makes solving ganache problems easy and helps you cover cakes perfectly every time.
Scaling Your Recipe Up or Down
Changing the amount of ganache is easy. I use a simple ratio system that works for any cake size. Here’s how to do it:
| Cake Size | Ganache Quantity |
|---|---|
| 6″ cake | 500g |
| 8″ cake | 700g |
| 10″ cake | 900g |
| 12″ cake | 1200g |
Perfect Ratios Every Time
My tips for chocolate ganache focus on the right consistency. For dark chocolate, use a 2:1 chocolate to cream ratio. White chocolate fans, you’ll need a 3:1 ratio, or 4:1 in warm weather.

Saving Your Calculations
I always save my ganache calculations. It’s a big help for trying new flavors or making a batch fast. Pro tip: freeze leftover ganache in Tupperware. Just thaw it to room temp before using, and you’re ready to go!
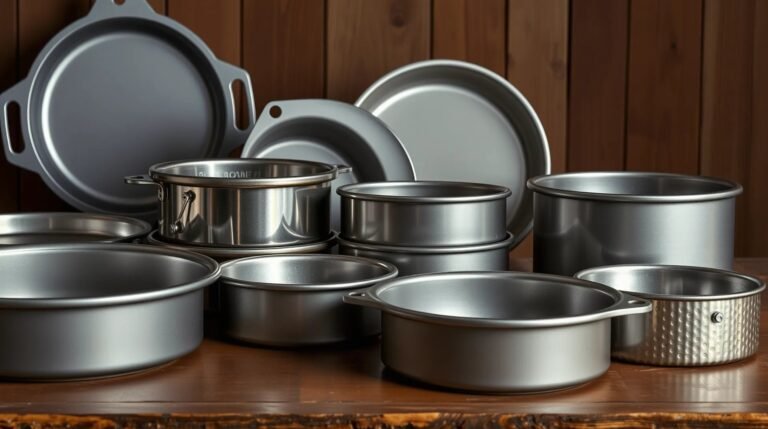
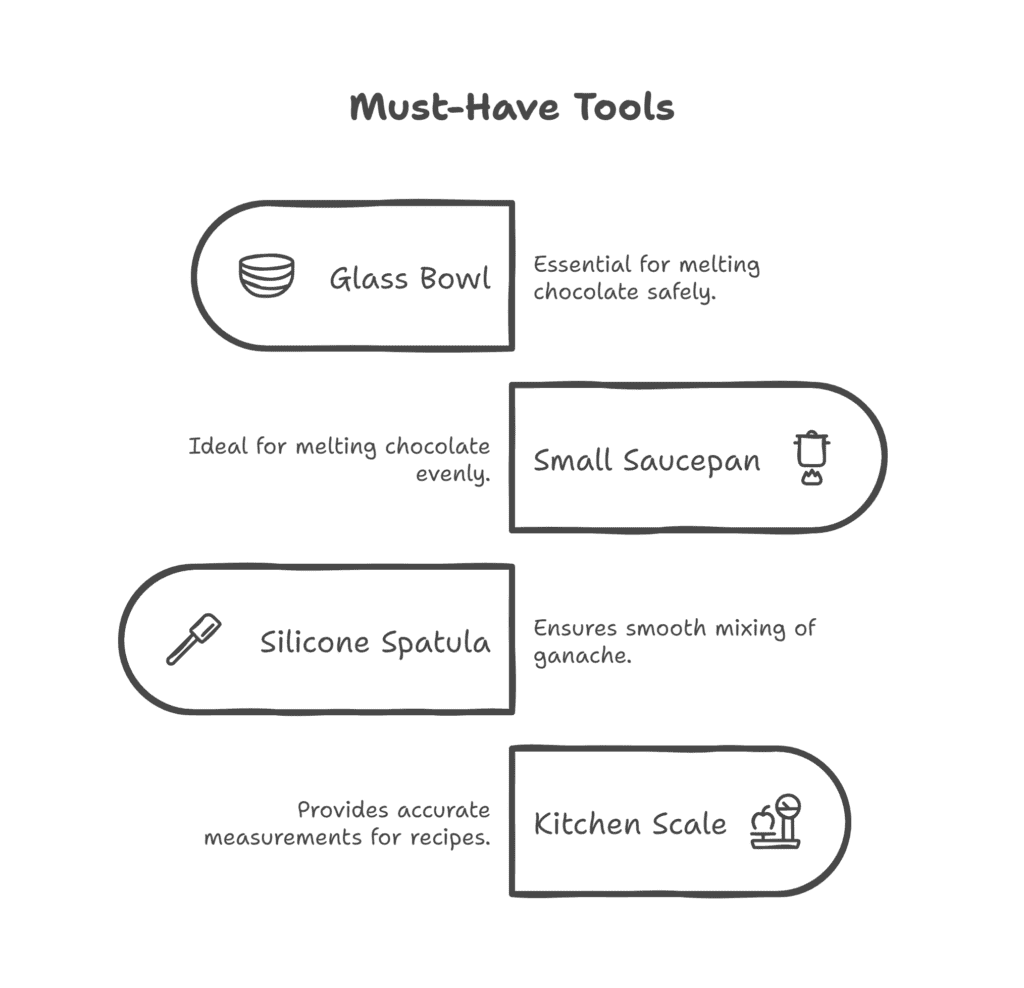
Essential Tools and Equipment
To make the perfect chocolate ganache drip or ganache for wedding cakes, you need the right tools. I’ve learned a lot over the years. Now, I’m excited to share my secrets with you.
Must-Have Tools
A heat-proof glass bowl and small saucepan are key for melting chocolate. A silicone spatula is a must for smooth ganache. A kitchen scale helps with precise measurements, which is important when using a chocolate ganache ratio calculator.
Nice-to-Have Upgrades
A double boiler and thermometer are nice but not essential. They help control the temperature, which is important for the perfect ganache texture.
Kitchen Hacks
No double boiler? No worries! Use a bowl over simmering water as a makeshift one. Avoid plastic bowls and whisks because they can mess up the texture. A serrated knife is great for chopping chocolate.
My Personal Equipment Setup
I love my KOOTEK turntable for even application and my Wilton Tip 1M for stunning rosettes. Here’s a list of my favorite tools:
| Tool | Brand/Type | Why I Love It |
|---|---|---|
| Cake Pan | 8-inch Anodized Aluminum | Even baking, perfect for layered cakes |
| Icing Smoother | Norpro Bench Scraper | Creates flawless ganache surfaces |
| Piping Bags | 16-inch Disposable | Versatile for various ganache applications |
| Food Coloring | AmeriColor | Flavorless, concentrated for vivid ganache hues |
With these tools, you’ll be ready to make stunning ganache drips and textures for any cake. Remember, the more you practice, the better you’ll get!
The Perfect Cream-to-Chocolate Ratio
Making the perfect ganache is an art. I’ve found the secret to the right cream-to-chocolate mix. This mix is what makes ganache smooth and creamy. Let’s explore the science behind making ganache!
Standard Ganache Ratios
I’ve tried many ratios to find the best. Here’s a cheat sheet for making great ganache:
| Type | Ratio (Chocolate:Cream) | Use |
|---|---|---|
| Dark Chocolate Drip | 1:1 | Cake drips, glazes |
| Dark Chocolate Frosting | 2:1 | Firm frosting, truffles |
| Milk Chocolate Frosting | 2.5:1 | Creamy frosting |
| White Chocolate Frosting | 3:1 | Stable white frosting |
Adjusting for Different Uses
Ganache is very versatile. I change the mix for different uses. For a pourable ganache, I use 1 part chocolate to 2 parts cream. It’s great for dipping or making a shiny cake drip.

Temperature Considerations
Temperature is very important when making ganache. I heat my cream to 90 to 110°F (32°C to 43°C). This temperature helps mix the chocolate and cream well without burning it. It’s a key part of making great ganache.
My Foolproof Testing Method
I have a simple way to check if ganache is right. I drop a bit on a cool plate and wait a few minutes. This shows how it will look on your cake or truffles. It’s a simple trick that works every time!
My Step-by-Step Chocolate Ganache For Cake Frosting Process
I’ve worked hard to make the perfect chocolate ganache. It’s all about using top-notch chocolate and following the right steps. I’ll show you how to make it without any problems.
Chopping the Chocolate (Size Matters!)
I chop 8 ounces (+-227 grams) of high-quality semi-sweet chocolate into small pieces. A serrated knife works best. This makes sure it melts evenly and tastes smooth.
Heating the Cream
Then, I heat 1 cup of heavy cream until it simmers. Using a 1:1 ratio is key for the right texture.
Combining Ingredients
I pour the hot cream over the chocolate and wait 5 minutes. After that, I stir it gently from the middle out. This keeps it from getting too hot or mixed up too much.
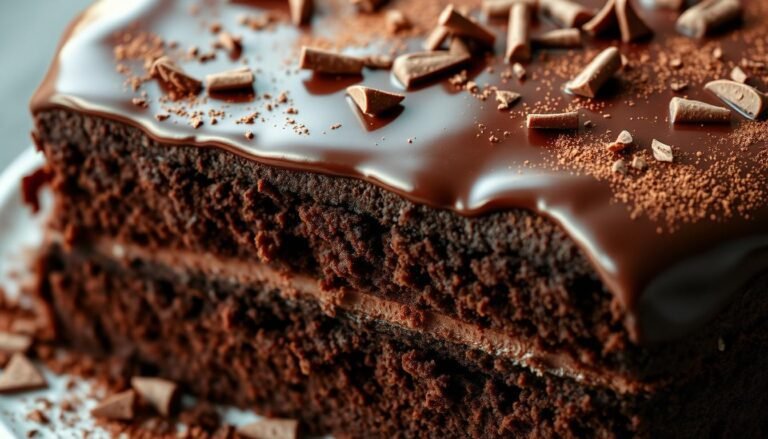
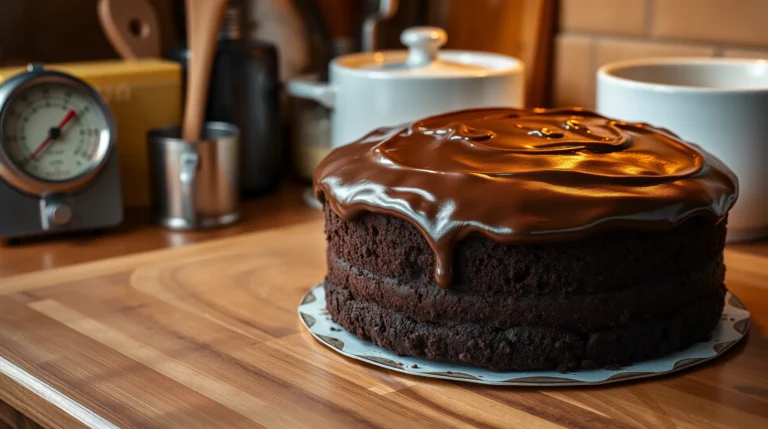
Visual Cues for Success
A shiny, even mix means it’s done right. I let it cool at room temperature for 2 hours. Stir it a bit every now and then. This makes about 2 cups, perfect for a 9-inch cake or 12-16 cupcakes.

Ganache is better than buttercream because it tastes richer and is smoother. It’s great for fancy chocolate decorations that make any dessert special.
| Ganache Type | Chocolate-to-Cream Ratio | Best Use |
|---|---|---|
| Standard Ganache | 1:1 | Cake frosting, fillings |
| Truffle Ganache | 2:1 | Chocolate truffles |
| Whipped Ganache | 1:1 (whipped after cooling) | Fluffy frosting |
Make-Ahead Strategies
I love making ganache ahead of time. It makes party prep so much easier! Let’s explore the best ways to time and keep it smooth.
Timing Your Ganache
Ganache’s shelf life changes based on where you store it. At room temperature, it lasts 2 days. In the fridge, it stays good for a week. Freezing makes it last up to 3 months.
I usually make mine 1-2 days before the event.
Perfect Party Prep Schedule
Here’s a simple plan:
- 2 days before: Make and refrigerate ganache
- 1 day before: Bake cake layers
- Event day: Assemble and frost
Temperature Control Tips
Fixing chocolate ganache for cake frosting consistency often means controlling its temperature. I warm up chilled ganache in a double boiler or short microwave bursts. Then, I let it come to room temperature for smooth application.

When to Make and When to Wait
For quick events, I use fast chocolate melting methods. But for the best taste, making ganache ahead is always better. It lets flavors mix well and gives time for smoothing if needed.
| Chocolate Type | Frosting Ratio (Chocolate:Cream) | Drip/Glaze Ratio (Chocolate:Cream) |
|---|---|---|
| Dark | 2:1 | 1:1 |
| Milk | 2.5:1 | 2:1 |
| White | 3.5:1 | 3:1 |
Remember, using a scale for ingredients makes results consistent. Now you’re ready to make perfect ganache for your next event!
Achieving Perfect Consistency for Frosting
I’ve learned how to make perfect ganache for frosting. It’s all about timing and keeping the right temperature. Let’s explore how to turn liquid ganache into a spreadable delight.
From Liquid to Spreadable
First, I let the ganache cool completely. This step is key for the right texture. After cooling, I whip it for 4 minutes. This makes it fluffy and spreadable.
This is where many people make mistakes. So, watch your timing closely.

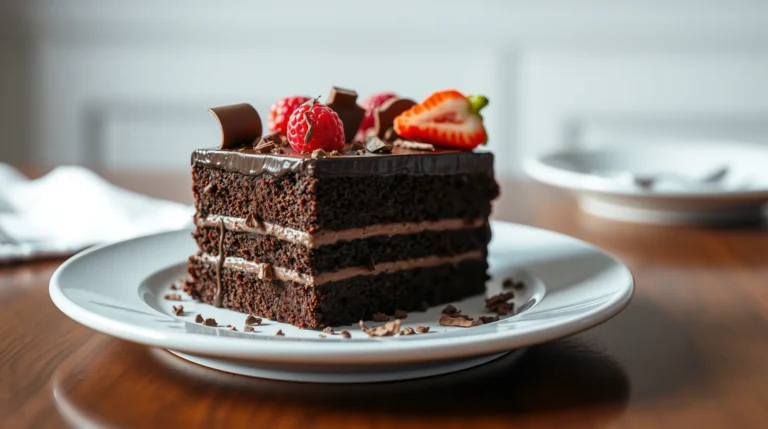
Spreading Techniques
I use an offset spatula for spreading ganache. It’s a must-have tool for me. I start with a thin layer, chill the cake, and then add more.
Piping Methods
For piping, I use big tips like Wilton 1M or Ateco 844. They make beautiful designs. But, remember, the temperature of the ganache matters. If it’s too warm, your designs will fall.
Coverage Tips
To cover perfectly, I chill the cake between layers. This stops the ganache from sliding. I also use a bench scraper for smooth sides.
Here’s a quick guide for ganache ratios:
| Chocolate Type | Frosting Ratio | Filling Ratio |
|---|---|---|
| Dark Chocolate | 1:1 | 2:1 |
| Milk Chocolate | 3:1 | 4:1 |
| White Chocolate | 3:1 | 4:1 |
With these tips, you’ll be frosting cakes like a pro soon!
Troubleshooting Common Ganache Problems
I’ve had my share of ganache troubles. I’m here to share what I’ve learned. If your ganache is lumpy or too greasy, I’ve got solutions. Let’s look at how to fix and prevent these problems.
Real-Time Fixes
Don’t worry if your ganache breaks! If it’s too thick, add warm cream slowly. For thin ganache, melt more chocolate. If it’s grainy, heat it gently in a double boiler, stirring often.
For separated ganache, add hot water, not cream. Start with a little water and whisk hard until it’s smooth. This trick works great without adding extra fat.

Prevention Tips
To prevent problems, use good chocolate like Guittard semisweet wafers (61% cacao). They’re great for flavor and stability. Never let cream boil and chop chocolate finely.
Use a glass bowl for shinier results. For covering cakes, use a 1:1 ratio of chocolate to cream. And, a good whisk and thermometer are key in my kitchen.
Conclusion
We’ve explored the world of chocolate ganache for cake frosting together. Now, it’s time to finish a chocolate cake with frosting. We’ve seen everything from dark chocolate to milk chocolate.
The secret to great ganache is in the details. Those cream-to-chocolate ratios are key.
Now you can make velvety frostings and stunning cake drips. You can even make chocolate truffles. Imagine your friends’ surprise when you say you made that chocolate sauce yourself!
So, go ahead and make chocolate ganache with confidence. Try different chocolates and flavors. You might create the next big dessert hit. And if it gets messy? That’s what the spoon is for. Happy ganaching!