Perfect Chocolate Cake Texture Guide for Better Baking
Ever bitten into a chocolate cake and found it dry? I have too. It’s really disappointing when you want a moist cake. But don’t give up! I’ve found the secret in this Chocolate Cake Texture Guide.
Let’s explore how to make cakes tender and moist. in this Perfect Chocolate Cake Texture Guide, I’ll share my best tips for mixing and finding the right balance. You’ll learn how to make cakes so good, everyone will want more!
Key Takeaways
- Balance moisture and density for perfect texture
- Use quality chocolate for intense flavor
- Combine cocoa powder and melted chocolate
- Incorporate oil for moisture retention
- Aim for a close, airy, yet moist crumb
- Master the right flour-to-liquid ratio
Quick Texture Guide: What Makes a Perfect Chocolate Cake Texture
I’ve baked many chocolate cakes. I learned that the perfect texture is an art. A soft chocolate cake with a velvety texture is the goal for bakers. Let’s explore what makes a chocolate cake truly special.
Visual Guide to Ideal Textures
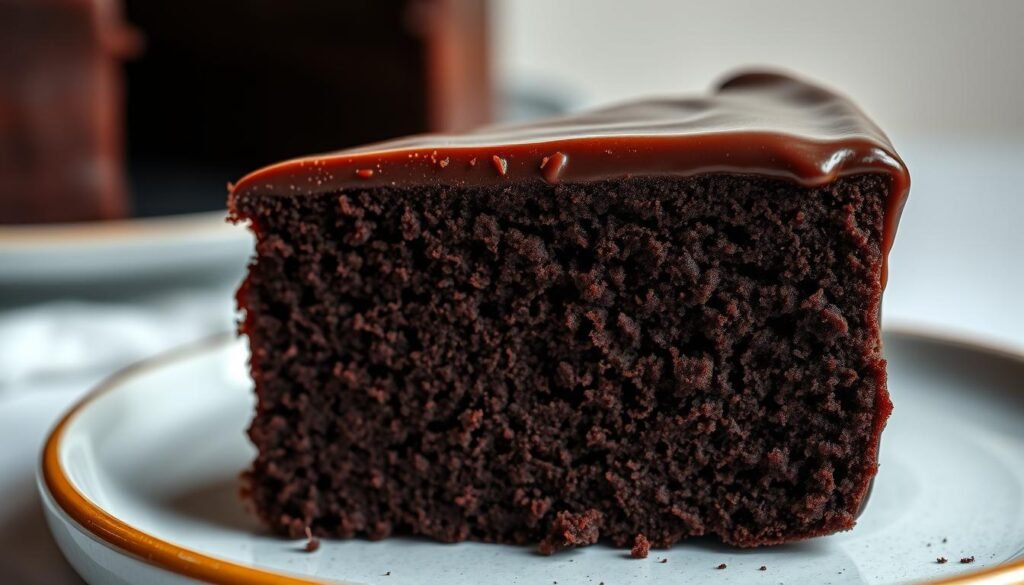
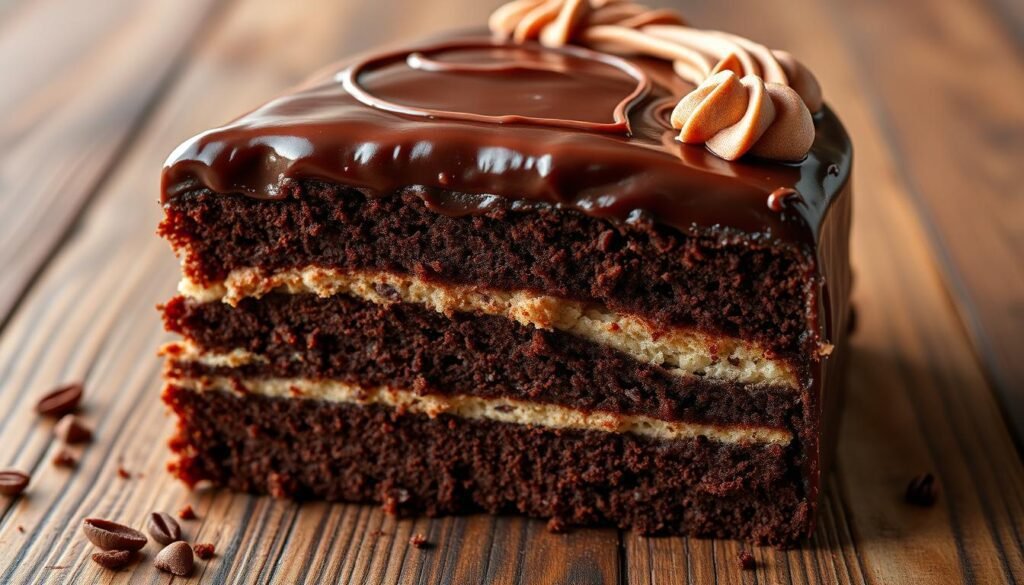
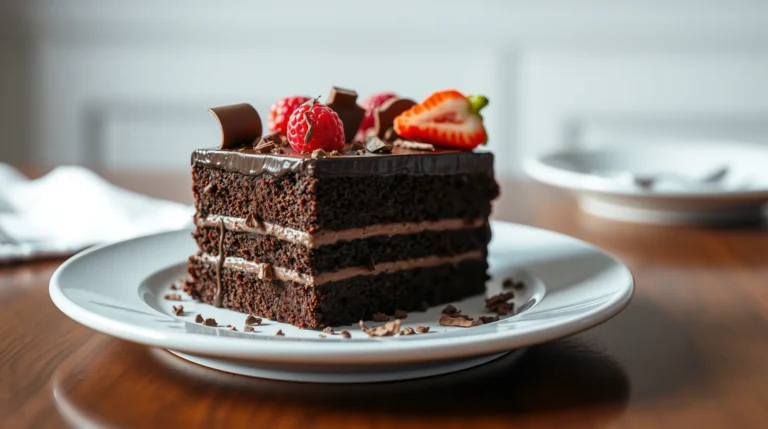
The perfect chocolate cake has an even, dark color. It also has a slightly glossy surface. When you cut into it, you’ll see a moist, tender crumb. It’s not too dense or too airy.
Texture Types and Their Characteristics
Chocolate cakes can be light and fluffy or dense and fudgy. The goal is to find the right balance. A cake density guide can help you get the perfect chocolate cake texture you want. For a velvety texture, aim for a crumb that’s tender and moist but sturdy enough for stacking.
Texture Assessment Checklist
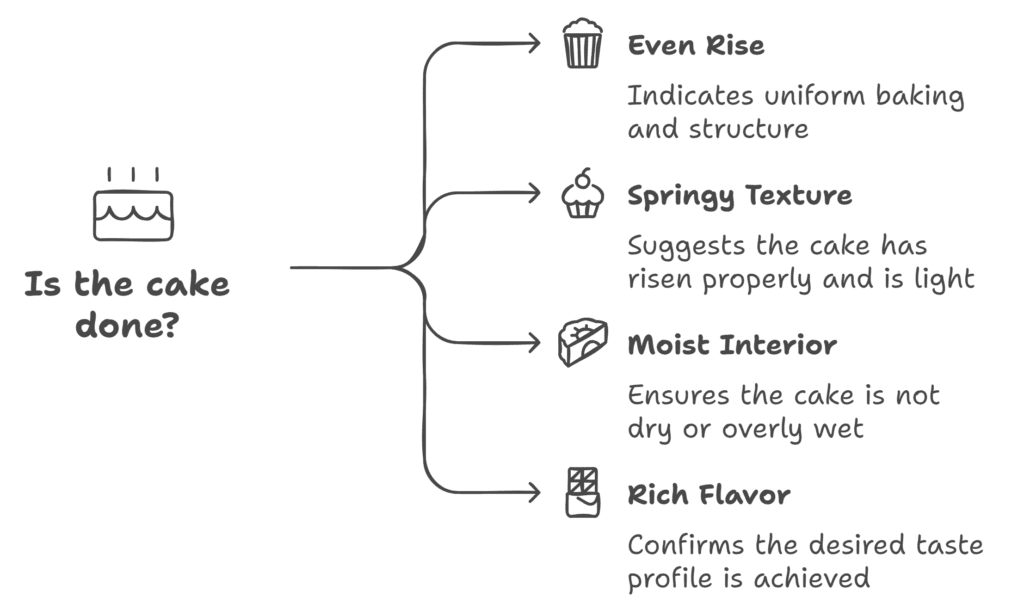
To check if a cake is done, use this checklist:
- Even rise across the cake
- Springy to the touch
- Moist but not gummy interior
- Rich chocolate flavor
- Crumbs cling to a toothpick when inserted
Comparison Charts and Visual References
Different cake mixing methods change the texture. Here’s a comparison of common methods and their results:
| Mixing Method | Texture Result | Best For |
|---|---|---|
| Creaming | Light and fluffy | Layer cakes |
| All-in-one | Tender and moist | Quick, easy cakes |
| Reverse creaming | Fine, velvety crumb | Wedding cakes |
| Melting | Dense and fudgy | Mud cakes |
Remember, practice makes perfect. Keep trying different methods. Soon, you’ll make the perfect chocolate cake every time!
The Science of the Perfect Chocolate Cake Texture
I’m exploring the world of chocolate cake science. It’s both an art and a science to make the perfect fudgy cake. Let’s look at what makes a chocolate cake great.
Understanding Crumb Structure
The secret to a the perfect chocolate cake texture is its crumb. Mixing flour just right stops cakes from being tough. Eggs are key for structure and moisture.
Moisture-to-Density Balance
Finding the right moisture and density balance is important. Butter adds flavor and texture. It traps air for a light, fluffy cake.
Butter must be room temperature for creaming. Sugar is not just for sweetness. It also creates air pockets for a tender cake.
How Ingredients Affect the Perfect Chocolate Cake Texture
Each ingredient affects the cake’s texture. Baking powder and baking soda help cakes rise. They make the crumb perfect.
Cocoa powder’s acidity is important. Natural cocoa works with baking soda. Dutch-process cocoa works with baking powder.
Temperature Science in Baking
My guide wouldn’t be complete without oven temps. The right temperature is key for rise and moisture. Lower temps make textures even.
But, opening the oven door too soon can ruin the cake!
| Ingredient | Function | Impact on Texture |
|---|---|---|
| Flour | Structure | Affects density and crumb |
| Eggs | Binding | Influences rise and moisture |
| Butter | Flavor and texture | Creates air pockets for fluffiness |
| Sugar | Sweetness and moisture | Tenderizes and retains moisture |
| Leavening agents | Rising | Affects cake’s lift and crumb structure |
Master Class: Professional Techniques for Perfect Chocolate Cake Texture
I’ve spent years perfecting chocolate cake textures. I’m excited to share my pro tips with you. Let’s dive into the secrets of achieving that dreamy, melt-in-your-mouth consistency every time.
Temperature Control Mastery
Nailing the right cake moisture content starts with temperature control. I always bring my ingredients to room temperature before mixing. This ensures even distribution and prevents overbeating, which can lead to a dense chocolate cake.
Mixing Method Selection
The mixing method you choose can make or break your cake’s texture. I love the reverse creaming method for a velvety crumb. It’s all about coating the flour with fat, which limits gluten development and results in a tender cake.
Moisture Management
To boost cake moisture content, I often add a dollop of sour cream or mayonnaise. These secret ingredients not only amp up the moisture but also contribute to a richer flavor profile.
Step-by-Step Process Guide
Here’s my foolproof process for perfect chocolate cake texture:
- Measure ingredients precisely – cake ingredient ratios matter!
- Sift dry ingredients to prevent lumps
- Cream butter and sugar until light and fluffy
- Add eggs one at a time, mixing well after each
- Alternate adding dry ingredients and liquids
- Fold in melted chocolate last for optimal chocolate cake density
| Ingredient | Effect on Texture | Recommended Amount |
|---|---|---|
| Flour | Affects cake protein content | 2 cups |
| Sugar | Tenderizes and moistens | 1 3/4 cups |
| Oil | Improves moisture retention | 1/2 cup |
| Eggs | Bind and emulsify | 3 large |
Remember, practice makes perfect. Don’t be afraid to experiment with these techniques to find your signature chocolate cake texture!
Ingredient Deep Dive
I’m excited to share some cake texture tips and professional baking techniques. These will transform your chocolate cakes. Let’s look at the key ingredients that affect your cake’s texture.
Chocolate Selection Guide
Choosing the right chocolate is key for a good cake texture. I love using Guittard Organic Natural cocoa powder for rich cakes. It has 22-24% fat for a luxurious feel.
For lighter textures, Hershey’s Natural Cocoa Powder with 10-13% fat is great.
Butter vs. Oil Decision Making
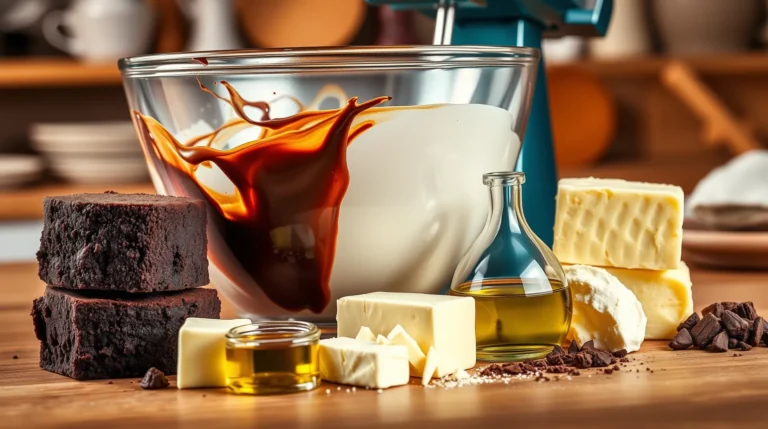
Butter (80% fat) makes cakes tender. Oil keeps them moist longer. Your choice affects dryness or density. I mix both for the best texture.
Sugar and Flour Impact
I use all-purpose flour (10-12% protein) for most cakes. For ultra-tender cakes, I choose cake flour (7-8% protein). Sugar sweetens and affects texture too. I use 2 cups of white sugar for the perfect balance.
Liquid Ratios
Proper liquid ratios are key to avoiding texture problems. My recipe has 1 ¾ cups of flour. I adjust liquids based on this. Remember, eggs are liquids too! They add structure and moisture.
| Ingredient | Amount | Impact on Texture |
|---|---|---|
| All-purpose flour | 1 ¾ cups | Moderate structure |
| Granulated sugar | 2 cups | Tenderness, moisture retention |
| Cocoa powder | Varies by brand | Richness, color intensity |
| Eggs | 2-3 large | Structure, moisture, leavening |
Remember, mixing time is important. Overmixing makes cakes tough. Undermixing can cause uneven baking. With these tips, you’re on your way to chocolate cake perfection!
Common Texture Problems Solved
I’ve had my share of cake mishaps. I’m here to share what I’ve learned. We’ll tackle common chocolate cake texture issues and how to fix them. Follow these tips, and you’ll make cakes that are perfect!
Dense Bottom Layer Solutions
Ever found a dense, gummy layer at the bottom of your cake? I have. It’s usually from mixing too much or not preparing the pan right. To fix this, grease and flour your pans well. Mix ingredients gently and stop when they’re just combined.
Dry Cake Fixes
Dry cakes are a nightmare. Using oil instead of butter helps keep cakes moist. Brushing layers with simple syrup or adding fruit purees also works. These methods add moisture without ruining the texture.
Gummy Texture Prevention
Gummy cakes come from baking too little or mixing too much. Always use a timer and check with a toothpick. Mix ingredients gently and briefly. Lumps are better than a gummy cake!
Uneven Crumb Troubleshooting
Uneven crumbs can mess up your cake’s look and feel. Use room temperature ingredients and rotate pans while baking. This ensures even heat and mixes ingredients well.
| Problem | Cause | Solution |
|---|---|---|
| Dense bottom layer | Overmixing, improper pan prep | Gentle folding, proper greasing |
| Dry cake | Overbaking, lack of moisture | Use oil, add fruit purees |
| Gummy texture | Underbaking, overmixing | Precise baking times, gentle mixing |
| Uneven crumb | Uneven heat, cold ingredients | Rotate pans, use room temp ingredients |
Mastering these techniques will help you make cakes that look like they came from a bakery. Remember, the more you practice, the better you’ll get!
Storage and Serving Guide
I’ve found the secret to keeping your chocolate cake perfect! Let’s explore how to keep it as tasty as when it was fresh from the oven.
Temperature Effects on Storage
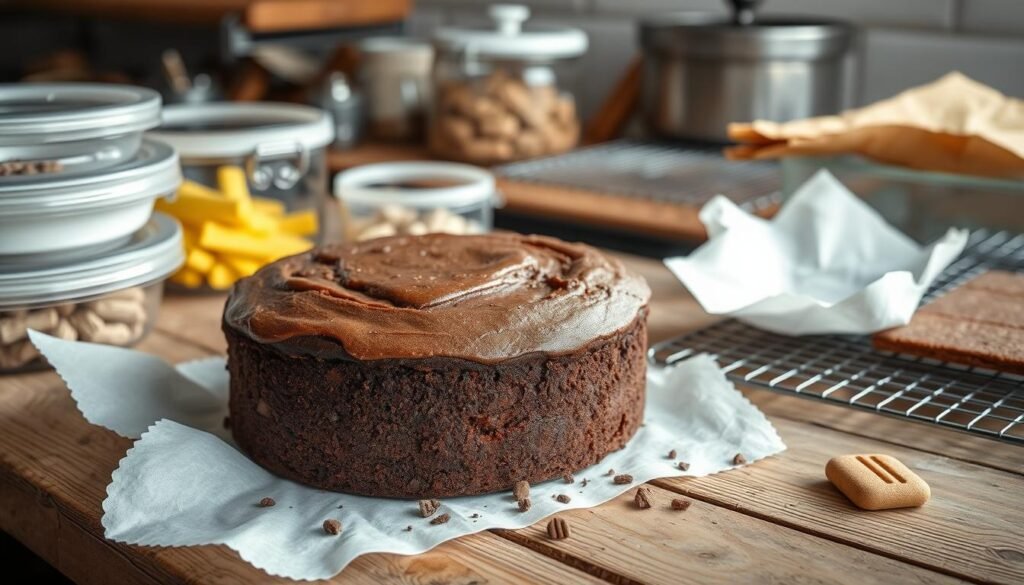
Keeping your cake’s texture just right is all about temperature. For cakes made with butter, aim for a temperature of 22°C. This ensures the cake stays smooth and the chocolate flavor shines through.
Moisture Retention Techniques
To keep your cake moist, wrap it twice in food-grade plastic wrap before freezing. This method is great for keeping the cake’s texture just right. For storing at room temperature, a cake keeper is your best tool.
Serving Temperature Impact
The temperature at which you serve your cake is very important. Letting a chilled cake sit for 15-20 minutes before serving enhances its flavor and texture.
Make-Ahead Strategies
Want to plan ahead? Freeze your cake layers after baking and cooling. This keeps them fresh for up to four months. Just thaw them properly to keep the cake’s texture perfect.
| Storage Method | Temperature | Duration |
|---|---|---|
| Room Temperature | 22°C | 1-2 days |
| Refrigerated | Below 22°C | Within 2 hours of baking |
| Frozen | -18°C | 3-4 months |
Advanced Texture Techniques
I’ve been trying to make the perfect cake texture. It’s a fun but tricky journey. Learning about cake texture science has been a big help.
Layering Like a Pro
For layer cakes, torting is the way to go. It’s like a fancy haircut for your cake. I cut each layer in half, making them thin and even.
This helps the cake stay moist and have a better texture. Plus, it lets me add more filling!
The Secret Weapon: Simple Syrup
Simple syrup is a pro trick. I brush each layer with it to keep the cake moist. It’s like a spa treatment for your cake!
Precision is Key
Using the right temperature for ingredients is important. I make sure my eggs and butter are room temperature. This helps them mix better.
When mixing, I start slow and go faster. It’s like a dance, and you don’t want to rush it!
The Baking Process
The baking temperature is key for the perfect chocolate cake texture. I always use an oven thermometer for accuracy. For checking if the cake is done, I press the center gently.
If it springs back, it’s ready! Remember, practice makes perfect. Don’t be afraid to try new things. Soon, you’ll make cakes that taste amazing!
Texture Achievement Checklist
I’ve found the secret to perfect cake texture! Let’s explore my fool-proof checklist for cake texture improvement. This guide covers pre-baking prep, cooling, and storage. It ensures your cakes are moist and tasty.
Pre-Baking Checklist
Before you begin, make sure you have these things for the best cake:
- Room temperature ingredients
- Properly greased and lined pans
- Oven preheated to the right temperature
- Ingredients measured accurately
Baking Monitoring Guide
While baking, watch for these signs for cake texture fixes:
- Even rise across the cake
- Gradual color change
- Toothpick test for doneness
- Slight pull away from pan edges
Cooling and Storage Guidelines
For the best cake moisture, follow these steps:
- Cool in pan for 10 minutes
- Transfer to wire rack for complete cooling
- Store unfrosted layers wrapped tightly in plastic
- Freeze for up to 3 months if needed
Cake baking science is all about being precise and patient. By using this checklist, you’ll make cakes with perfect texture every time!
| Stage | Key Action | Impact on Texture |
|---|---|---|
| Pre-Baking | Room temp ingredients | Even mixing, smooth batter |
| Baking | Consistent oven temp | Proper rise, moist crumb |
| Cooling | Wire rack use | Prevents soggy bottom |
| Storage | Airtight wrapping | Maintains moisture balance |
Conclusion
I’ve made a big chocolate mess, haven’t I? We’ve talked about the best cake texture and cocoa secrets. Creating a chocolate cake can be quite challenging; however we are all set to tackle the task. The key, to achieving a chocolate cake lies in paying attention to the specifics. Opt for either Guittards or Hersheys cocoa to elevate the flavor profile of your creation. And don’t forget the liquid ratios for a moist cake. Sour cream or mayo can really help. Next time you make a cake, be like a pro pastry chef. Try different chocolate bars and cocoa types. Add a bit of chocolate liquor too. With my chocolate cake texture guide, you’ll make cakes as good as any bakery. Now, I really want a slice of chocolate cake!


One Comment