Expert Tips And Solutions To Common Chocolate Cake Troubleshooting
Ever had a chocolate cake disaster? I feel your pain! Problems like dense, gummy textures or sunken centers can ruin a sweet treat. But don’t give up yet! I’ve got chocolate cake troubleshooting tips to fix these issues fast.
Ready to make your cake fails into wins? Let’s explore some easy steps to bake perfect chocolate cakes.
Key Takeaways
- Dense or gummy textures often result from over-mixing or using cold ingredients
- Dry cakes can be fixed by adjusting baking time and moisture content
- Sunken centers may be caused by underbaking or oven temperature issues
- Proper pan preparation prevents sticking and ensures even baking
- Correct measurement of ingredients is key for perfect cake texture
- Oven temperature and baking time are vital for cake success
Quick Guide: Why Chocolate Cakes Fail and How to Fix Them
I’ve had my fair share of chocolate cake fails. I’m here to help you avoid them. Let’s look at common issues and how to fix them. This way, you can bake the perfect chocolate cake every time.
Common Chocolate Cake Troubleshooting Issues
From my experience, the most frequent cake baking mistakes include:
- Dry, dense cakes
- Sunken centers
- Uneven browning
- Cakes sticking to pans
Avoiding Common Mistakes Easily
To prevent these chocolate cake fails, I’ve learned some valuable tips:
- Measure ingredients accurately – one cup of all-purpose flour weighs about 4.25 ounces
- Use room temperature ingredients for better mixing
- Don’t overmix the batter – it can lead to a dense, chewy cake
- Preheat the oven and use an oven thermometer for accurate temperature
- Line cake tins properly to prevent sticking
Quick Checklist for Better Chocolate Cake Results
Here’s my go-to checklist for baking moist cake:
| Step | Action | Benefit |
|---|---|---|
| 1 | Fill pan ⅔ full | Prevents overflow |
| 2 | Use light-colored aluminum pans | Prevents darkened crusts |
| 3 | Avoid opening oven door too soon | Prevents concave cakes |
| 4 | Cool on wire rack | Prevents sticky tops |
| 5 | Check for doneness with toothpick | Ensures perfect bake |
By following these tips and tricks, you’ll bake delicious, moist chocolate cakes. You won’t face the common pitfalls.
Troubleshooting Texture Problems: Fixing Dense and Gummy Cakes
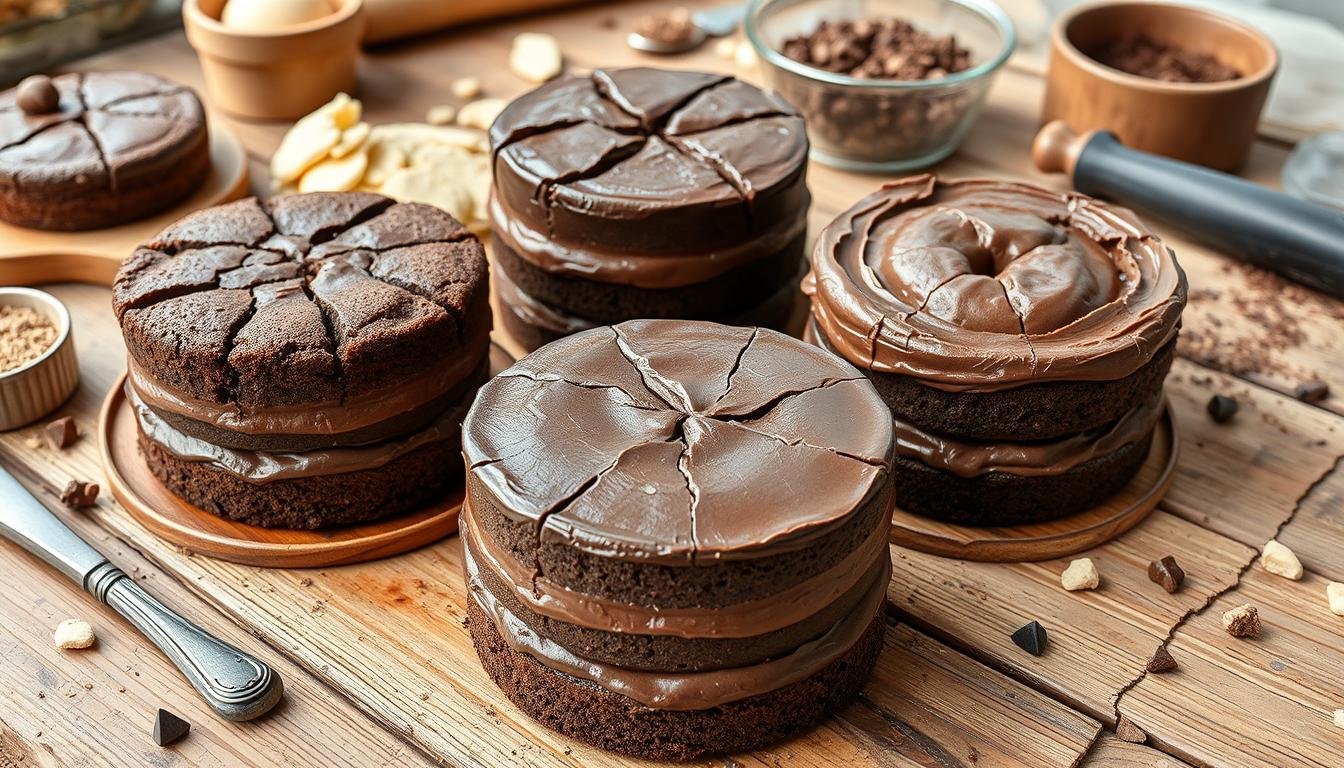
I’ve had my share of dense chocolate cake problems. It’s really bad when you want a light cake but get a gummy one instead. But don’t worry! I have some easy tips to make your cake fluffy and delicious.
Avoid Over-Mixing
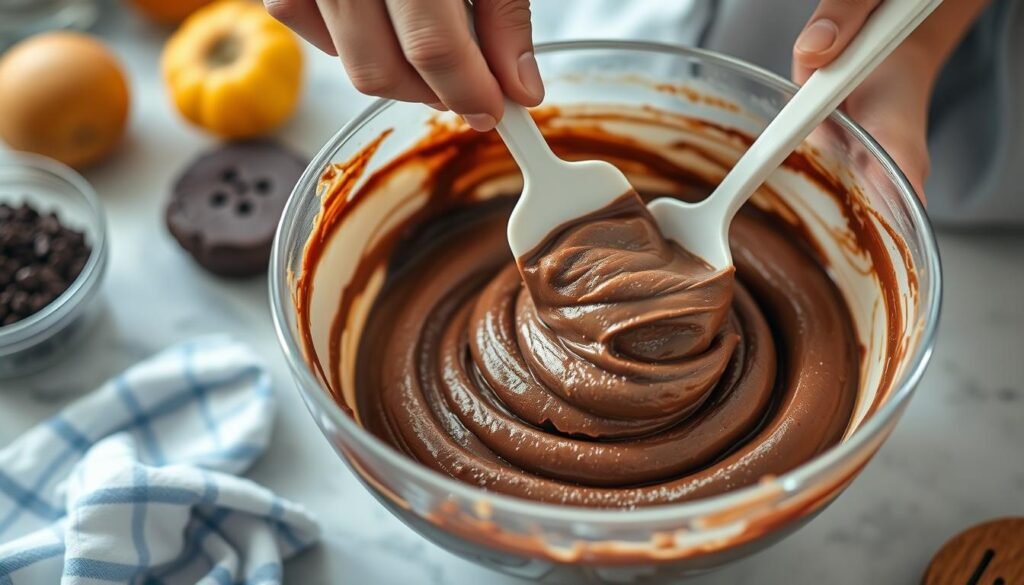
Mixing your cake gently is key to a light texture. Stop mixing as soon as everything is just combined. Mixing too much can make your cake dense and gummy. This trick can solve about 70% of your cake problems.
Measure Flour Correctly
Measuring flour right is very important. I use a spoon to scoop flour into the measuring cup and then level it. This stops you from adding too much flour, which can make your cake dry and dense. Using a kitchen scale is even better for getting it just right.
Room Temperature Ingredients
Cold ingredients mix poorly and can make your cake gummy. I always make sure my ingredients are at room temperature before baking. This simple step helps your batter mix smoothly and bake evenly, giving you a fluffy cake every time.
By following these tips, I’ve cut down my dense cake problems a lot. Remember, baking is a science. These small changes can make a big difference in getting that perfect, light chocolate cake we all love.
Solving Moisture Problems: Dryness and Overly Moist Cakes
I’ve had my share of cake troubles. From dry cakes to soggy bottoms. Let’s find ways to make your next cake moist and perfect.
Balancing Liquid Ingredients
Moist cakes need the right mix of wet and dry stuff. Butter makes cakes light and fluffy. Oil makes them chewy and soft.
Remember, a cup of flour is heavier than cake flour. Always use tested recipes for the best mix.
Tips for Baking Evenly Moist Cakes
For moist cakes, use non-stick or dark pans. They spread heat evenly, avoiding dry edges. Convection ovens bake faster, so watch them closely.
Let your cake cool for a minute before taking it out. This helps it not cook too much more.
Adjusting Baking Time and Temperature
Different ovens can be tricky. Always set your timer a bit early. Check if your cake is done.
If it’s dry, don’t worry! Try a simple syrup glaze or milk soak. For really dry cakes, use them for ice cream sundaes. Remember, practice makes perfect for moist cakes!
How to Prevent and Fix Sunken Cake Centers
Ever faced a sunken cake center? You’re not alone! I’ve been there, and it’s frustrating. Let’s dive into why cakes don’t rise and how to fix sunken cakes. With these tips, you’ll be baking picture-perfect cakes in no time!
Managing Oven Temperature Properly
Did you know less than 20% of home bakers use an oven thermometer? That’s a big no-no! An accurate oven temp is key. I always use a thermometer to ensure my oven’s not lying to me. It’s a game-changer for preventing sunken cake centers.
Ensuring the Right Balance of Leavening Agents
Here’s a shocker: 80% of bakers don’t know baking powder and soda expire! Fresh leavening agents are key to a cake that rises well. I check mine every few months. It’s an easy fix that makes a world of difference.
Checking Bake Times for Different Cake Sizes
Did you know 6 out of 10 bakers experience cakes not rising properly? One culprit: incorrect bake times. I’ve learned to adjust times based on pan size. A cake tester is my best friend here – it ensures my cakes are perfectly baked, not sunken!
If your cake sunk, don’t despair! Try turning it into cake pops or a trifle. With these tricks up your sleeve, you’ll be conquering sunken centers like a pro. Happy baking!
Structural Problems: Fixing Cracks, Crumbles, and Sinking Edges
I’ve had my share of cake problems. Cracks and crumbly cakes can be tough. Let’s look at ways to fix common issues.
Controlling Mixing Speed and Ingredients
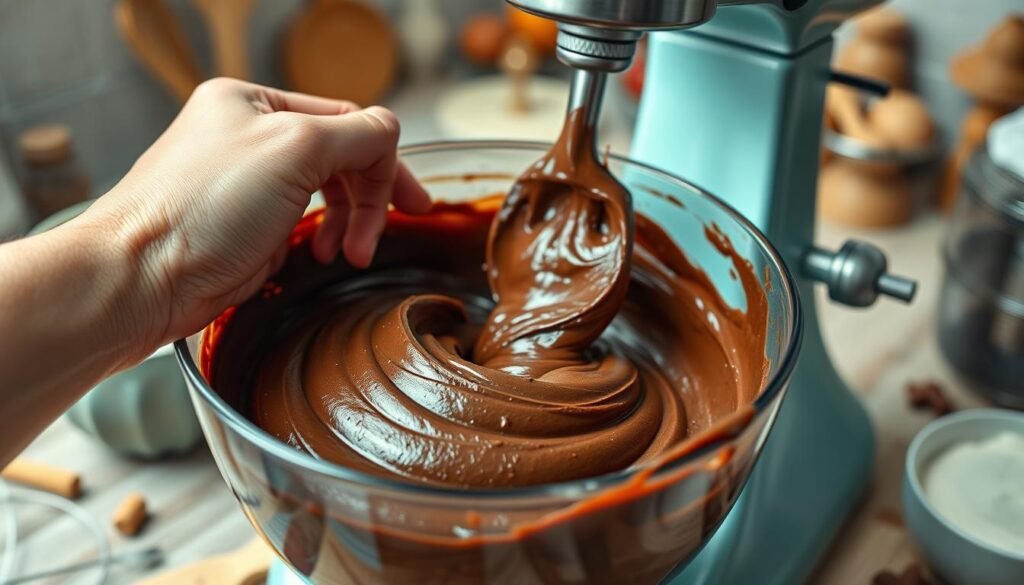
Overmixing is a big problem. I mix at medium speed and stop when it’s just combined. This stops too much air from getting in, which can cause the cake to fall.
Maintaining the Right Cooling Conditions
Cooling is key for cake structure. I let my cakes cool completely before frosting. This stops crumbling and keeps the cake strong.
A wire rack is great for even cooling. It helps avoid a soggy bottom.
Oven Position and Pan Choice
The right pan and oven spot matter a lot. I use the right pan size to avoid overflow and sinking. Putting the pan in the oven’s center helps with even heat.
For extra protection, I sometimes use cake strips around my pans.
Baking is a science. Being precise with measurements and following recipes helps avoid many problems. With these tips, you’ll bake beautiful, strong cakes!
Uneven Baking and Browning: How to Achieve Consistent Results
I’ve had my share of cake browning problems. Uneven baking can ruin your cake. But don’t worry, I have some tips to help you get even layers.
Using Proper Pan Preparation Techniques
First, let’s talk about pan prep. Greasing pans well is key to avoid sticking and ensure even baking. I use butter, flour, or parchment paper. It’s like giving your cake a smooth start!
Choosing the Right Pan Material
Not all pans are the same. I prefer light-colored metal pans for even heat. Dark or glass pans can cause uneven baking. That’s not what you want!
Adjusting Oven Racks and Temperature
Now, let’s get to the magic. Proper rack placement is important for even heat. I always check my oven temperature with a thermometer. And if needed, I rotate the pans halfway through baking. Just remember, no slamming the oven door!
| Issue | Solution | Result |
|---|---|---|
| Uneven browning | Use light-colored metal pans | Even heat distribution |
| Lopsided cakes | Proper pan preparation | Flat, even layers |
| Inconsistent baking | Adjust oven racks and temperature | Perfectly baked cakes |
With these tips, you’ll bake perfect cakes. No more uneven baking worries. Just delicious, Instagram-worthy treats!
Key Tools and Ingredients for Perfect Chocolate Cake Results
I’ve baked many chocolate cakes. The right tools and ingredients make a big difference. You’ll get a moist, rich cake that everyone will love!
Essential Baking Equipment for Consistent Results
To make the perfect chocolate cake, you need some important tools. Here’s what I always use:
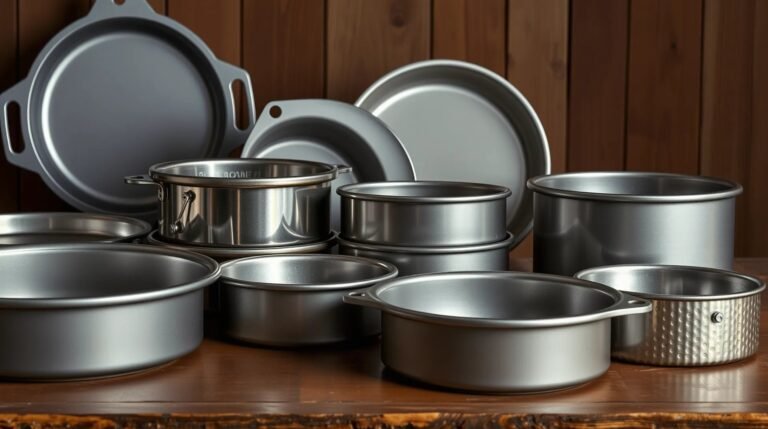
- Quality cake pans (9-inch round or 13×9-inch rectangular)
- Reliable oven thermometer
- Precise measuring cups and spoons
- Kitchen scale for accurate measurements
- Large mixing bowls
- Electric mixer (stand or hand-held)
Ingredient Quality Tips: Why Quality Matters
Using the best ingredients makes your cake amazing. Here’s what I choose:
- High-quality Dutch Process cocoa powder for rich flavor
- Dark chocolate (60% cocoa solids) for the frosting
- Fresh leavening agents for proper rise
- Neutral-tasting oils like sunflower oil
Measuring Tools and Techniques
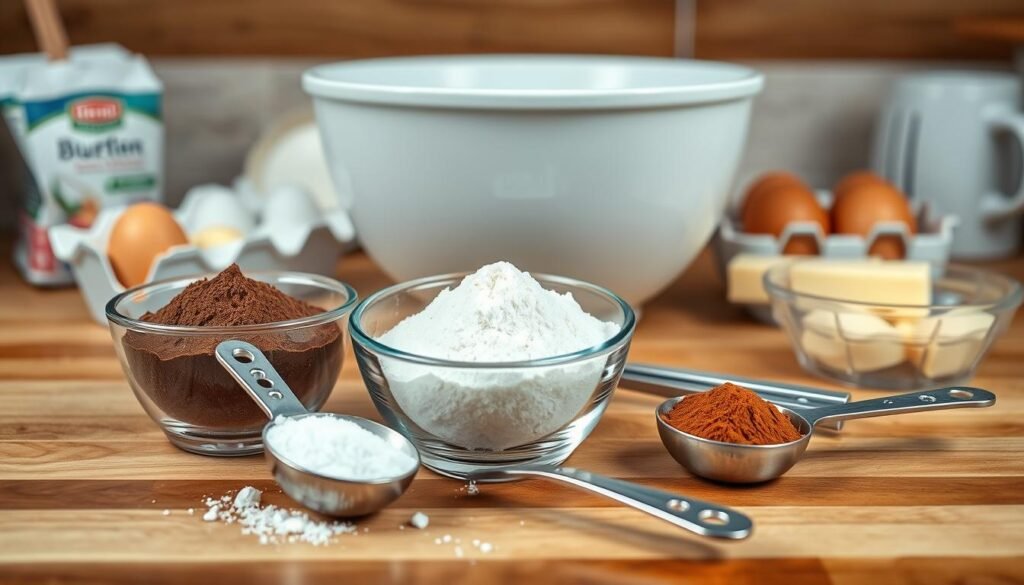
Measuring right is key to baking success. Here’s how I do it:
- Use dry measuring cups for flour, sugar, and cocoa
- Liquid measuring cups for wet ingredients
- Spoon dry ingredients into cups, then level off
- Use a kitchen scale for precise measurements in grams
| Ingredient | Measuring Technique | Recommended Tool |
|---|---|---|
| Flour | Spoon and level | Dry measuring cup |
| Cocoa powder | Spoon and level | Dry measuring cup |
| Sugar | Scoop and level | Dry measuring cup |
| Oil | Pour to line | Liquid measuring cup |
| Milk | Pour to line | Liquid measuring cup |
With these tools, ingredients, and measuring tips, you’re ready to make a chocolate cake that will impress everyone!
Printable Troubleshooting Checklist for Chocolate Cakes
I’ve made a chocolate cake checklist for you. It helps you make the perfect cake every time. It covers mixing and baking. Print it and keep it in your kitchen for easy access!
My first tip is about temperature. Make sure your batter is between 68°F-72°F (20°C-22°C). This stops overmixing. When baking, use an oven at 370°F-380°F (187°C-193°C).
Here’s a quick rundown of my top chocolate cake guide points:
- Mix less initially to prevent overmixing
- Use the right amount of leavening agents
- Choose quality ingredients like cake flour and shortening
- Fill pans adequately for even baking
- Chill the cake slightly before icing to reduce crumbling
Chocolate cakes can be tricky. If you get buttercream blowouts or sliding layers, don’t worry. These problems often come from too much moisture or uneven layers. My checklist has solutions for these problems too.
By using this chocolate cake checklist, you’ll get better at baking. Happy baking!
Related Recipes and Baking Tips
I’ve got some exciting chocolate cake recipes and baking tips to share! Let’s dive into the world of chocolate desserts and cake decorating ideas that’ll make your mouth water.
First, let’s talk about some show-stopping chocolate cake recipes. Have you tried making a German chocolate cake? It’s rich, moist, and topped with a coconut-pecan frosting that’s to die for. Or, if you’re feeling adventurous, why not whip up a chocolate lava cake? These individual desserts ooze with warm, gooey chocolate when you cut into them.
When it comes to baking tips, choosing the right flour can make a big difference in your chocolate cakes. Take a look at this comparison:
| Flour Type | Weight per Cup | Protein Content |
|---|---|---|
| Cake Flour | 113 grams | 8% |
| All-Purpose Flour | 115-130 grams | 10-11.7% |
For cake decorating ideas, try using a chocolate ganache drip for a elegant touch. Or create beautiful rosettes with chocolate buttercream for a classic look. Remember, practice makes perfect!
Lastly, here’s a pro tip: when baking chocolate desserts, consider using Dutch-processed cocoa powder. It pairs well with yogurt or baking powder, creating a balanced flavor profile. Happy baking!
Conclusion: Try These Solutions and Bake the Perfect Chocolate Cake Today!
I’ve shared many tips to help you bake a great chocolate cake. Now, it’s time to use them! You can fix common problems and make your cakes better. Making the perfect chocolate cake takes practice and care.
Our taste tests showed what works best. Cakes with more liquid, like Ina Garten’s, were the favorites. Cakes with natural cocoa and oil were also loved. Adding sour cream or mayo makes them even better!
Are you ready to bake? Use a Fat Daddio anodized aluminum pan. This recipe has a 4.52 out of 5 rating from 39 votes. It’s perfect for two 9-inch rounds or 24 cupcakes. Follow these tips to make it every time. So, get ready, preheat your oven, and let’s bake!



3 Comments