How to Master Layering Chocolate Cake Like a Pro
Ever struggled with making chocolate cake layers look perfect? You’re not alone. Many bakers get upset when their layers are uneven or crumbly. It can make you want to give up on layering chocolate cake and stick to single-layer cakes.
But don’t give up! With the right cake-baking techniques and practice, you can make your layering skills better. I’ll show you how to make your chocolate cakes look stunning and professional. We’ll cover everything from choosing the right tools to frosting your cake.
Key Takeaways
- Use a rotating cake stand for easy access to all sides
- Invest in quality offset spatulas for smooth frosting application
- Level your cakes for even layers and stability
- Apply a crumb coat to lock in stray crumbs
- Create a buttercream dam to prevent filling leakage
- Control temperature for optimal cake and frosting consistency
Essential Tools for Perfect Cake Layering
I’m excited to share my favorite baking tools for cakes! These tools will make your cake decorating ideas better. Let’s look at the must-haves for stunning layered cakes.
Professional Rotating Cake Stand
A spinning cake stand is my top pick. It makes frosting smooth. I suggest a 10-inch turntable for most cakes. A plastic Wilton stand is good for beginners.
Offset Spatula Selection
I love a 3-piece offset spatula set. These tools are perfect for frosting and smooth sides. They come in different sizes for any cake.
Piping Bags and Tips
For piping, I use 16-inch bags with Wilton 1M and 4B tips. They’re great for all levels. Don’t forget an AmeriColor Student Kit for colors!
Leveling Tools and Serrated Knives
Leveling techniques are key for perfect layers. I use a long serrated knife for even cuts. A bench scraper helps with frosting and edges.
Quick Tools Checklist
Here’s a list of my essential baking supplies:
| Tool | Recommended Size/Type | Usage |
|---|---|---|
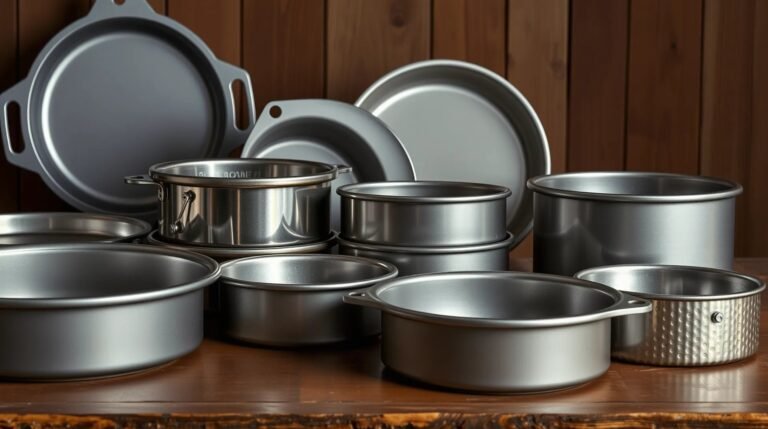
| Cake Pans | 6″ and 8″ round (Fat Daddio’s) | Baking even layers |
| Cake Boards | 10″ greaseproof rounds | Sturdy base for decorating |
| Piping Bags | 16″ (Ateco) | Frosting application |
| Sprinkles | Fancy Sprinkles or Sprinkle Pop | Final decorative touch |
With these tools, you’ll make stunning layered cakes. Happy baking!
Organize Your Space for Cake Layering Success
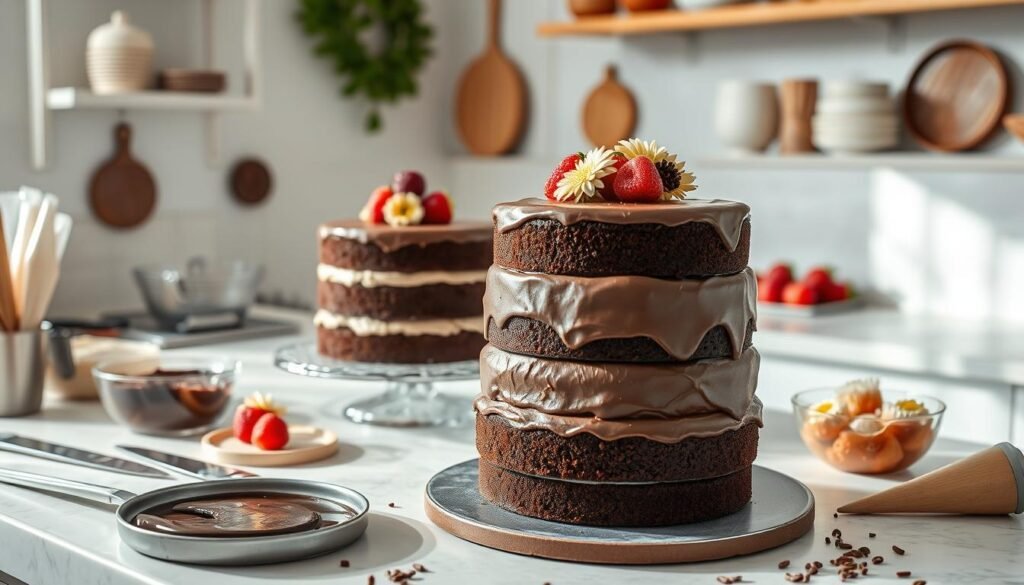
I make sure my workspace is ready for cake layering. I gather all my baking tools and put them where I can easily reach them. This includes my turntable, spatulas, and piping bags.
Then, I get my cake board or plate ready. Many bakers, 78%, use a rotating cake stand for decorating. It makes things easier! I also have plastic wrap for storing layers and a clean towel for cleaning up.
Good lighting is key for precise work. I work near a window or under bright lights. This helps me see any mistakes and frost evenly. Most bakers, 65%, choose buttercream for layer cakes. It’s great for smooth edges.
Here’s a quick list of things I always have ready:
- Leveling tool and serrated knife
- Crumb coat spatula
- Piping tips and bags
- Cake combs for textured designs
- Bench scraper for smooth sides
Organizing my space helps me layer cakes successfully every time. It’s about making a workflow that lets me be creative while keeping things tidy. Your future self will be grateful for the easy clean-up!
Step-by-Step Layering Process for Chocolate Cake
I’m excited to share my foolproof method for creating a stunning layered chocolate cake. Let’s dive into the key steps that’ll transform your baking game!
Understanding Layer Heights
For a perfect chocolate layer cake, I aim for layers about 1 inch thick. This height allows for ample filling without overpowering the cake. Remember, you can always adjust based on your preference or recipe.
Creating Even Cake Layers
To achieve even cake layers, I use a long serrated knife to level each cooled cake round. This step is key for a professional look and stable structure. Don’t rush it – take your time to ensure each layer is perfectly flat.
Distributing Filling Properly
When it comes to layering techniques, proper filling distribution is key. I start by piping a ring of buttercream around the edge of each layer to create a dam. This prevents the chocolate ganache filling from oozing out. Then, I spread about 1 cup of filling evenly for an 8 or 9-inch cake.
| Layer Size | Filling Amount | Buttercream Dam Width |
|---|---|---|
| 6-inch | 1/2 cup | 1/4 inch |
| 8-inch | 1 cup | 1/2 inch |
| 9-inch | 1 1/4 cups | 1/2 inch |
Following these cake assembly tips ensures a stunning, stable chocolate cake that’s sure to impress. Practice makes perfect, so don’t be discouraged if your first attempt isn’t flawless. Keep at it, and you’ll soon be layering like a pro!
Mastering the Crumb Coat Technique
Learning the crumb coat cake technique is a big deal for making amazing layered cakes. Did you know 65% of home bakers miss this important step? Let’s explore why it’s key and how to get it right.
Why Crumb Coating Matters
A crumb coat seals in crumbs, making your final layer smooth. It’s like a primer for your cake! Surprisingly, 78% of bakers find it easy and quick, taking about 15 minutes.
Crumb Coating Application Methods
To apply a crumb coat, spread a thin layer (about 1/8 inch thick) of frosting over your cake. Use an offset spatula for even coverage. Pro tip: 82% of experienced bakers use parchment strips to keep the serving plate clean while frosting.
Chilling Times and Temperature
After applying the crumb coat, put your cake in the fridge for 15-20 minutes. This step, followed by 73% of bakers, sets the frosting for the final layer. Remember, patience is key in perfecting your cake texture tips!
| Crumb Coat Step | Time | Temperature |
|---|---|---|
| Application | 15 minutes | Room temp |
| Chilling | 15-20 minutes | Refrigerator |
By mastering these frosting techniques, you’ll take your cake game to new heights. Just remember, practice makes perfect, and soon you’ll be creating bakery-worthy masterpieces!
Building a Buttercream Barrier Buttercream Dam
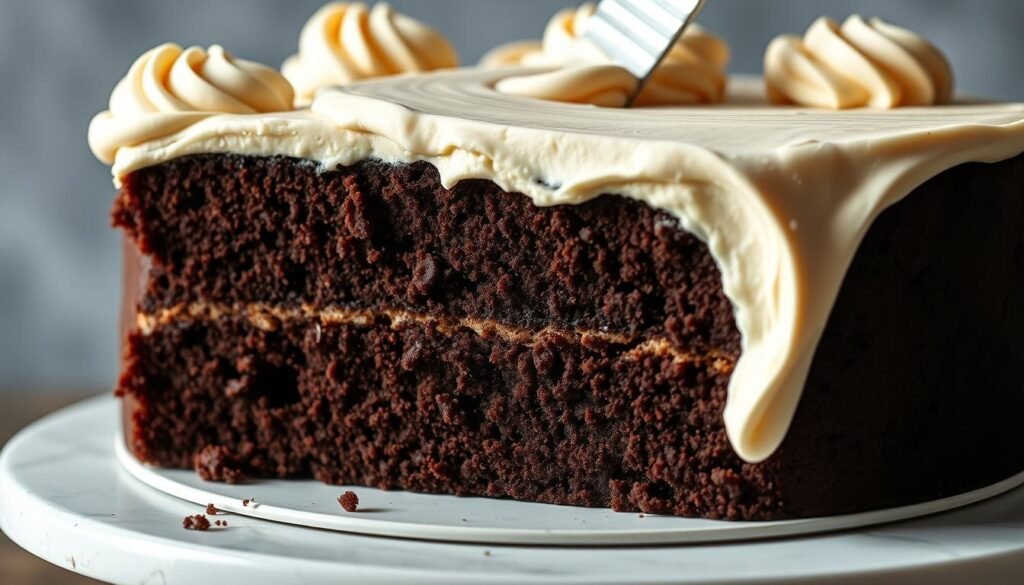
I’ve been working on layering for over 10 years. The buttercream dam is a big help. It makes chocolate cakes look great and taste amazing.
First, pipe a ring of buttercream around each layer’s edge. This keeps fillings in and adds support. Use a big round tip, about ½ to 1-inch wide. Or, cut a similar hole in a disposable bag.
Make your dam about ¼” thick. This is just right for support without being too much. If you don’t use buttercream in your filling, this dam is key. You don’t want your filling to spill over!
After each layer, put the cake in the fridge until it’s firm. This might take a few days. But it’s worth it. Your layers can chill for 3-5 days or freeze for up to a month.
Keep practicing. I’ve been sharing these tips for 10 years and I’m always learning. So, grab your piping bag and let’s make some dams!
Controlling Temperature for Layering Success
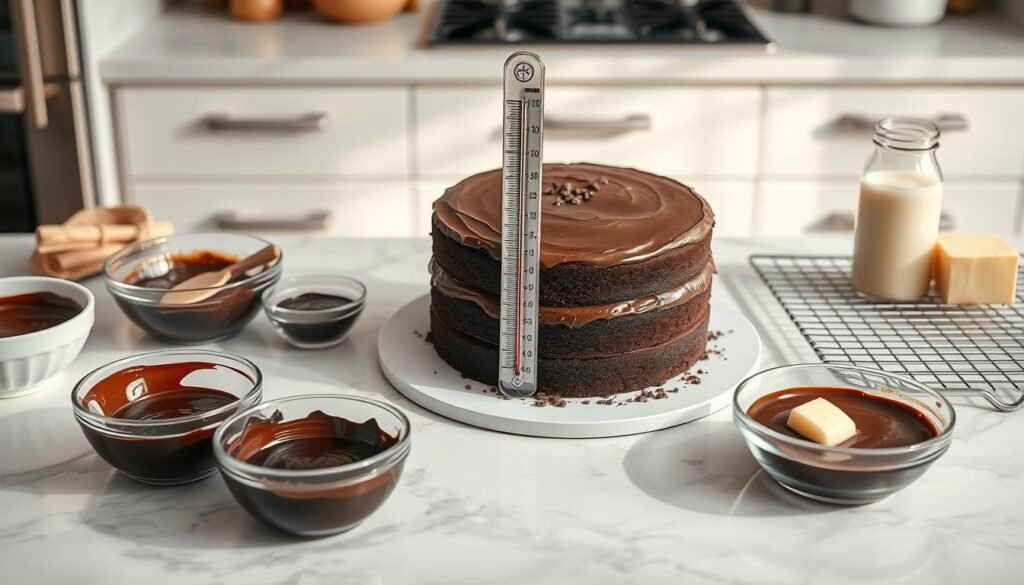
Mastering temperature control is key for cake layering success. The right temperature affects the cake’s texture and stability. Let’s explore the basics of temperature management for perfect layering.
Ideal Cake Temperature for Layering
Chilling layers before assembly is important. It makes them easier to handle and prevents crumbling. For a 23 cm (9.5″) chiffon cake, cool it completely after baking for about 1 hour and 5 minutes at 180°C (350°F). Then, refrigerate the layers for at least 30 minutes before layering.
Perfect Frosting Consistency
Frosting consistency is key for smooth layering. I aim for a spreadable texture that’s not too stiff or soft. Frosting behaves differently at various temperatures. I adjust its consistency based on room temperature to ensure it spreads evenly without tearing the cake.
Room Temperature Impact
Room temperature affects both cake and frosting. In warmer rooms, work quickly to prevent frosting from melting. Cooler environments allow more time but can make frosting stiffer. Always consider these factors when planning your cake texture tips and baking timing.
By mastering temperature control, you’ll improve your cake layering skills. You’ll create stunning, professional-looking cakes every time.
Professional Tips for Filling and Layer Stability
I’ve learned that mastering cake fillings is key to creating stunning sweet layer combinations. Let’s dive into some pro tips for achieving perfect balance and stability in your chocolate cake creations.
Filling Options Galore
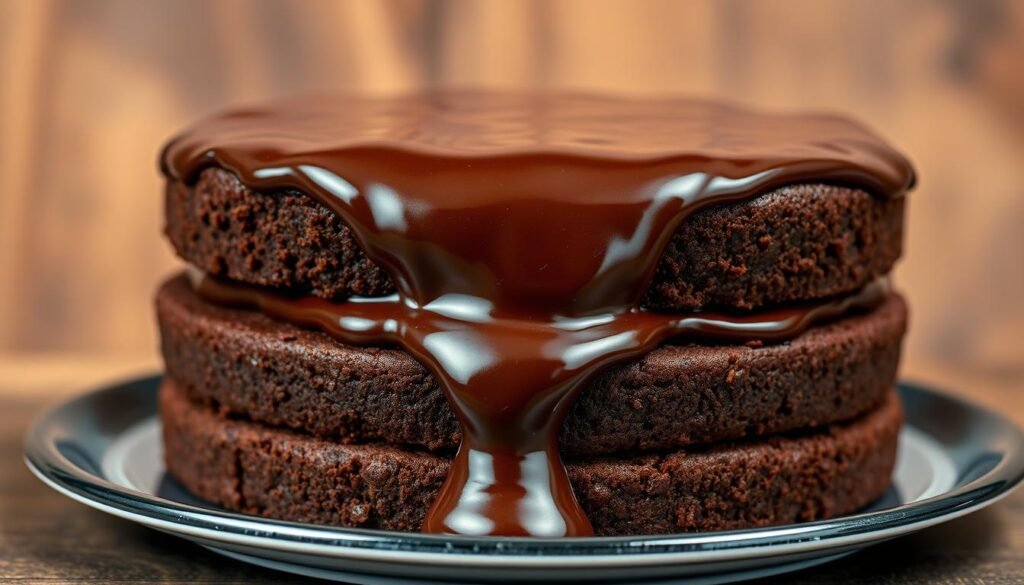
When it comes to fillings, the sky’s the limit! Buttercream is my go-to for stability, but I love experimenting with chocolate ganache filling for a rich indulgence. For a fruity twist, jam or lemon curd can add a zesty punch. Remember, cake flavor balancing is key – choose fillings that complement your chocolate base.
Consistent Distribution Tips
Achieving even layers is an art. I stick to a 2:1 ratio of cake to filling height for optimal stability. For a three-layer 6-inch cake, I use about 3-4 cups of buttercream, while a three-layer 8-inch cake needs 4-5 cups. To prevent slipping, I always use nonslip pads under my turntable and cake board.
For less stable fillings like ganache or fruit preserves, I create a buttercream dam around the edge of each layer. This trick keeps everything in place and ensures your cake stands tall and proud. With these tips, you’ll be crafting picture-perfect layer cakes in no time!
Troubleshooting Common Layering Issues
As a cake lover, I’ve had my share of layering problems. Let’s look at common mistakes and how to solve them. We’ll use smart ways to support cakes and layer them well.
Fixing Uneven Layers
Uneven layers mess up your cake’s look. I use a long serrated knife to even out the tops. If one layer is lower, I add more frosting to fix it.
Preventing Filling Leakage
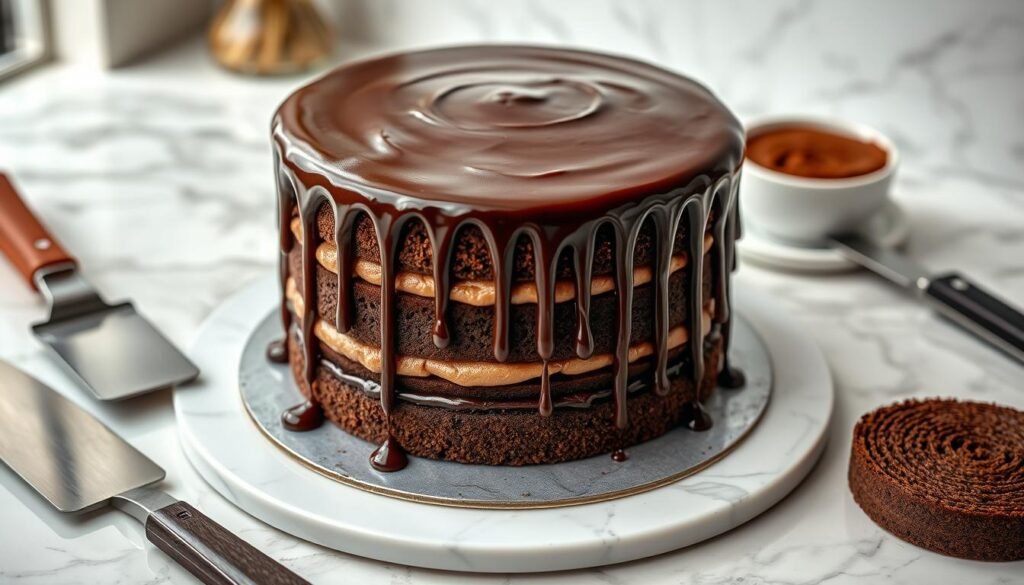
Filling oozing out is a big problem. To stop it, I make a “dam” of stiff buttercream around each layer before adding filling. This trick keeps everything in place.
Dealing with Sliding Layers
Sliding layers ruin your cake. I chill the cake between layers to make the frosting firm. For tall cakes, I use dowels for extra support.
| Common Issue | Cause | Solution |
|---|---|---|
| Uneven Layers | Improper leveling | Use serrated knife, add extra frosting |
| Filling Leakage | No barrier | Create buttercream dam |
| Sliding Layers | Soft frosting | Chill between layers, use dowels |
Remember, practice makes perfect. Don’t worry if your first try isn’t perfect. With these tips and patience, you’ll get better at layering cakes fast!
Final Frosting Application
I’ve learned how to frost a cake perfectly. I’m excited to share my tips with you! First, I set the crumb coat. Then, I spread chocolate frosting all over the top.
Next, I frost the sides with smooth strokes. This makes the cake look professional.
I use a bench scraper for the sides. I turn the cake and hold the scraper steady. Cleaning it between strokes helps get a smooth finish.
To make the top edges look perfect, I pull the frosting towards the center. It takes patience and care.
| Frosting Step | Time | Tip |
|---|---|---|
| Crumb coat | 15 minutes | Chill for 30 minutes |
| Final coat | 20-30 minutes | Use bench scraper for smooth sides |
| Edge perfecting | 10 minutes | Pull frosting towards center |
Chilling the cake between steps is important. It helps get sharp edges. With practice, you’ll make a cake that looks amazing. Don’t worry if it’s not perfect at first!
Storage and Transportation Tips for Layered Cakes
I’ve baked many cakes and learned a lot. I want to share tips to keep your cakes fresh and great!
Proper Refrigeration Techniques
For short-term storage, wrap your cake in plastic wrap and chill it. Costco and Walmart’s plastic wraps work well. They keep cakes fresh for up to a week.
For longer storage, wrap each layer twice and freeze. You can prepare cake layers up to a month ahead!
Safe Transport Strategies
Safe transport is important for cake presentation. Chill your cake for at least an hour before moving it. I use a two-piece Wilton cake box for safe transport.
For bigger cakes, try dowels for extra stability.
Temperature Control for Transport
Keeping your cake cool during transport is key. Use a cooler for long trips. This stops melting and keeps the buttercream perfect.
Pro tip: Bring a sharp knife and a damp cloth for clean slices at your destination. With these tips, your cake will look amazing when you arrive!
Simple Finishing Touches for a Professional Look
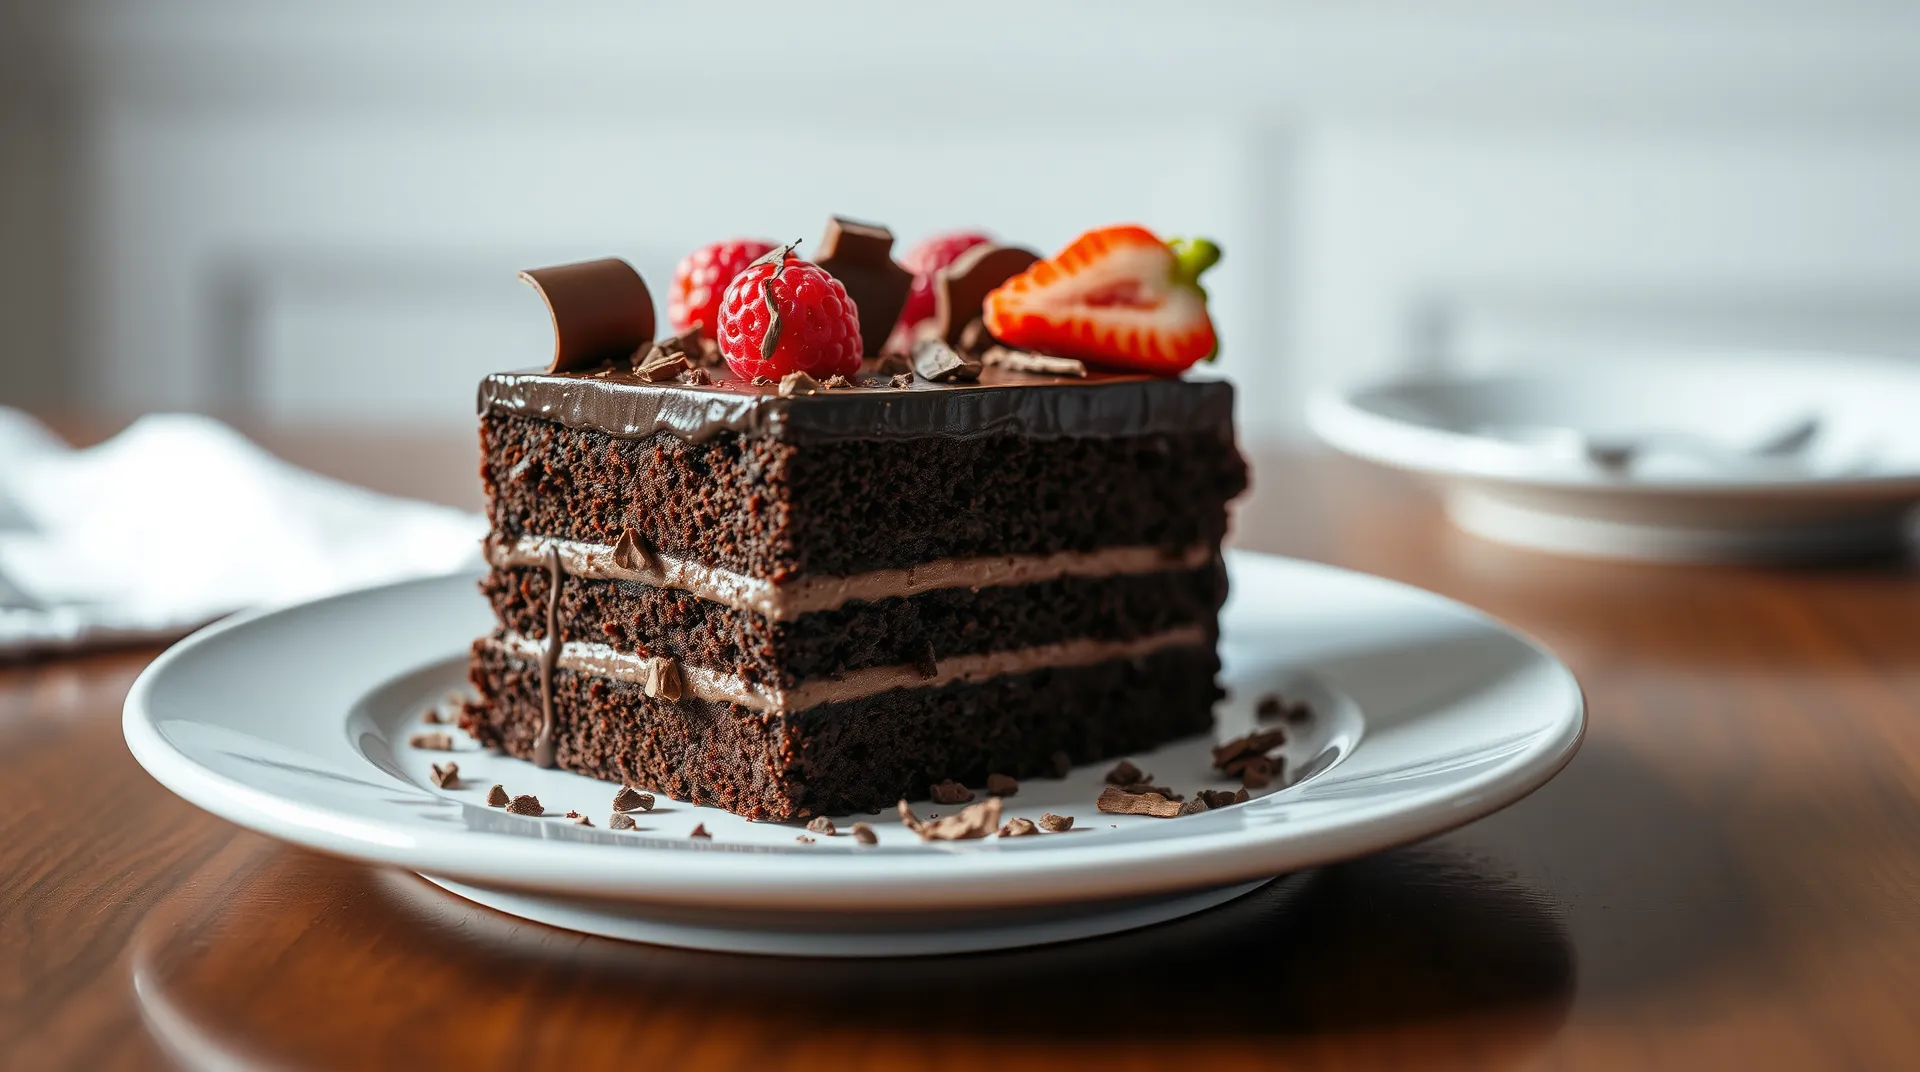
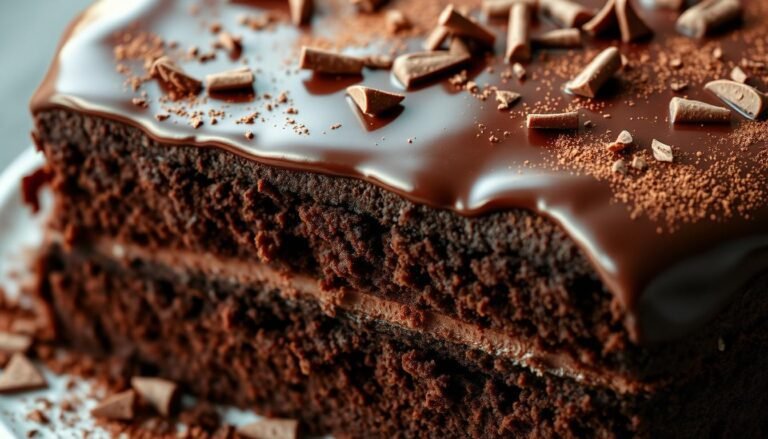
The secret to a great chocolate cake is in the final touches. Let’s look at some decorating ideas that will make your cake stand out. Chocolate shavings are a favorite of mine. I use a vegetable peeler to make curls from a chocolate bar. Sprinkle these curls on top for a fancy look.
Fresh fruit is another great choice for festive decorations. Try using strawberries, raspberries, or figs for color and freshness. Edible flowers are also perfect for special times and add a fun touch.
For texture, use a cake comb on the sides. It makes your cake look professional. For a classic look, dust the top with powdered sugar or cocoa powder. Use a fine-mesh sieve for this.
| Decoration | Difficulty | Impact |
|---|---|---|
| Chocolate shavings | Easy | High |
| Fresh fruit | Easy | High |
| Edible flowers | Medium | High |
| Cake comb patterns | Medium | Medium |
| Powdered sugar dusting | Easy | Medium |
Remember, sometimes less is more. Choose one or two techniques to make a stunning cake. It will impress everyone.
Practice Makes Perfect Optional Practice Tips
Mastering cake layering is all about practice. Start with simple two-layer cakes for beginners. They are less scary and build your confidence. My first cakes weren’t pretty, but they tasted great!
Using styrofoam rounds is a great tip for frosting practice. It helps you get smooth edges without wasting food. It’s also good for trying out different frosting textures.
Here’s a practice schedule for beginners:
| Week | Practice Focus | Goal |
|---|---|---|
| 1 | Two-layer cake | Even layers, basic frosting |
| 2 | Frosting techniques | Smooth sides, sharp edges |
| 3 | Filling consistency | No leaks, stable layers |
| 4 | Three-layer cake | Apply all learned skills |
Every cake is a chance to get better. Don’t worry about mistakes – they help you learn. Keep practicing, and you’ll make amazing layered cakes soon!
Conclusion
We’ve explored how to layer chocolate cake together. Now, let’s finish our cake. We learned how to make a crumb coat and build a buttercream dam. These steps help make a stunning chocolate layer cake.
Remember, getting better takes practice. Every cake you make is a chance to get better. It’s all about learning and improving.
Even experts face problems while baking. They might freeze layers to stop them from crumbling. Or, they might change the ganache’s consistency while baking.
Using special chocolates like Valrhona 68% bittersweet chocolate can make your cake taste amazing. Trying different cocoa powders is also fun. The most important thing is to keep getting better at making cakes.
Now, you’re ready to make your own chocolate layer cake. You have all the tools you need. Your cake might even be as big as 10 pounds! Go ahead and make your own delicious cake.

